One-Pan Garlic Butter Chicken Thighs: Quick and Easy Weeknight Meal
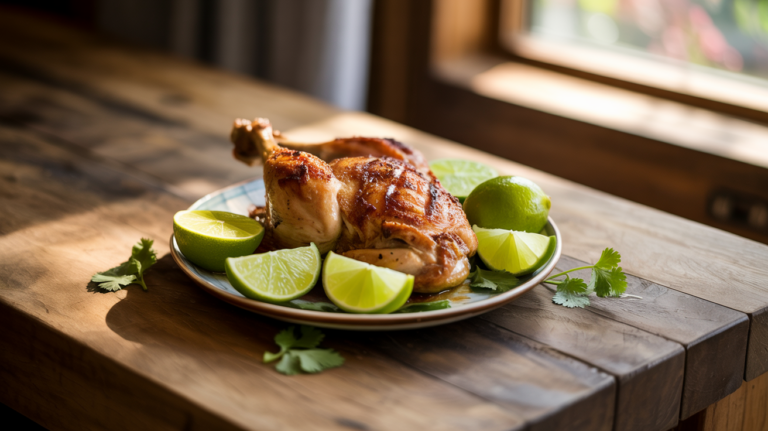
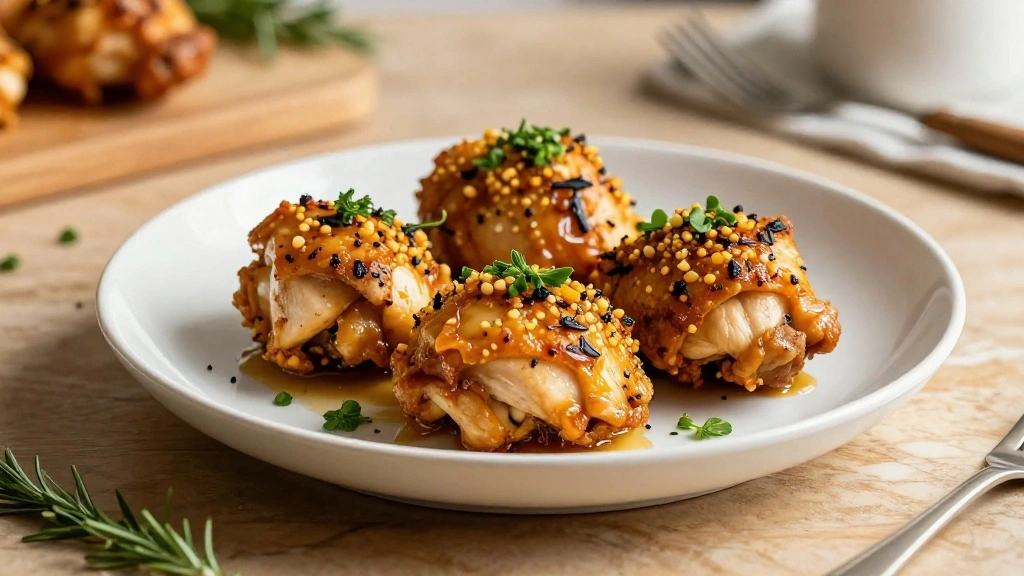
One-Pan Garlic Butter Chicken Thighs is a delightful combination of simplicity and flavor that makes it a perfect choice for busy weeknights.
The dish is infused with aromatic garlic and rich butter, creating a savory profile that satisfies diverse palates.
I first encountered this recipe during a cozy family dinner where it instantly became a household favorite.
Its appeal lies in the minimal prep and cleanup, as everything comes together harmoniously in just one pan.
Whether you’re a novice cook or a seasoned chef, this recipe promises delicious results with minimal effort.
The History and Cultural Significance
• One-Pan Garlic Butter traces its origins to rustic European kitchens, where it was originally created by resourceful home cooks.
• The dish evolved over decades as butter and garlic became more widely available, eventually becoming the beloved version we know today.
• In Mediterranean cultures, this dish traditionally appears at family gatherings, symbolizing warmth and togetherness.
• While many variations exist across different regions, the authentic version maintains the simple yet rich flavor profile that sets it apart from imitations.
Recipe Overview
Nutritional Information (per serving)
Essential Equipment Guide
Cast Iron Skillet: A cast iron skillet is essential for achieving an even and sustained heat, which is crucial for properly browning the chicken thighs. Alternatives like non-stick pans can work, but they might not provide the same depth of flavor.
Silicone Basting Brush: This tool helps in evenly distributing the garlic butter over the chicken. A pastry brush can be used as an alternative, but silicone handles heat better and is easier to clean.
Instant-Read Thermometer: Ensures the chicken is cooked through to the safe internal temperature without overcooking. Look for one with a quick response time and easy-to-read display.
Ingredients
For the Chicken
|
| Amount | Ingredient | Notes |
|---|---|---|
| 4 pieces | chicken thighs | bone-in, skin-on for flavor and juiciness |
| 1 teaspoon | salt | enhances flavor |
| 1/2 teaspoon | black pepper | adds mild heat |
For the Garlic Butter
| Amount | Ingredient | Notes |
|---|---|---|
| 3 tablespoons | unsalted butter | adds richness |
| 4 cloves | garlic | minced, for aromatic flavor |
| 2 tablespoons | fresh parsley | chopped, for freshness |
Seasonings
| Amount | Ingredient | Notes |
|---|---|---|
| 1 teaspoon | lemon zest | adds brightness |
| 1 teaspoon | paprika | enhances color and flavor |
Preparation Methods
Browning Chicken: Browning the chicken thighs skin-side down in a hot pan ensures a crispy texture and rich flavor. Pat the chicken dry before starting to enhance browning.
Infusing Garlic Butter: Melting butter with garlic slowly over low heat extracts maximum flavor without burning the garlic. Take care to stir gently and watch for golden color.
Deglazing: Adding a splash of chicken broth or water to the hot pan after browning lifts the flavorful bits stuck to the pan. This step enhances the depth of flavor in the sauce.
Step 1: Prepare Ingredients
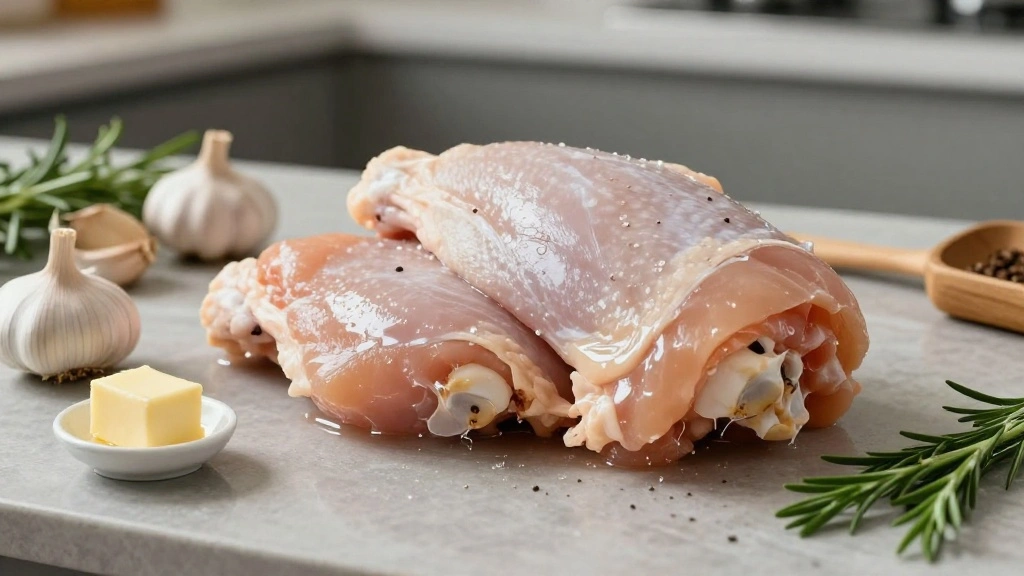
Gather all ingredients and equipment.
Pat the chicken thighs dry with a paper towel.
Season the chicken with salt and black pepper evenly on all sides.
Ensure that all other ingredients are measured and ready to use.
Step 2: Heat the Skillet
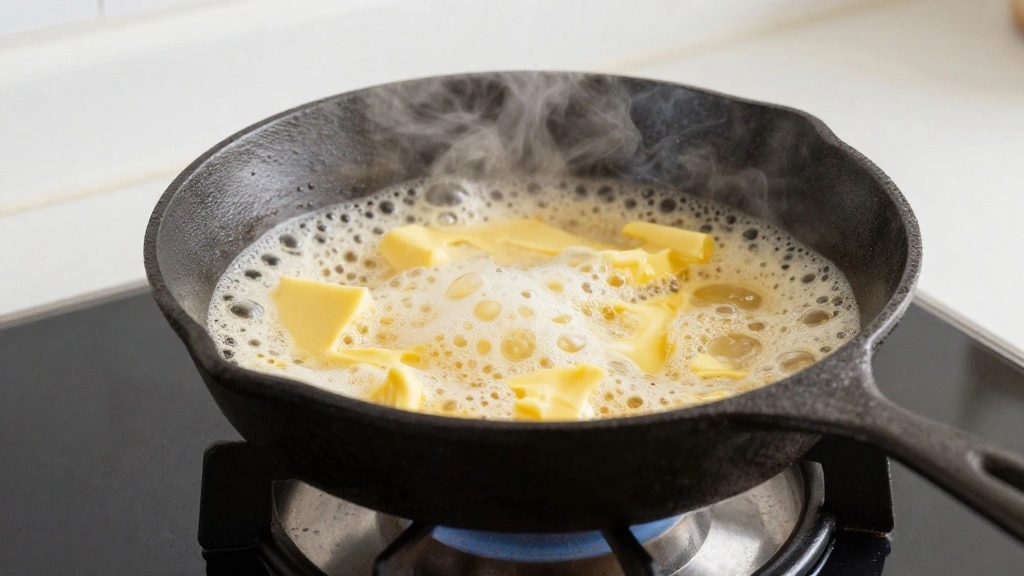
Place a cast iron skillet over medium-high heat.
Add a tablespoon of butter and let it melt completely.
Watch for the butter to begin foaming, indicating the right temperature.
Ensure the butter does not brown or burn.
Step 3: Brown the Chicken
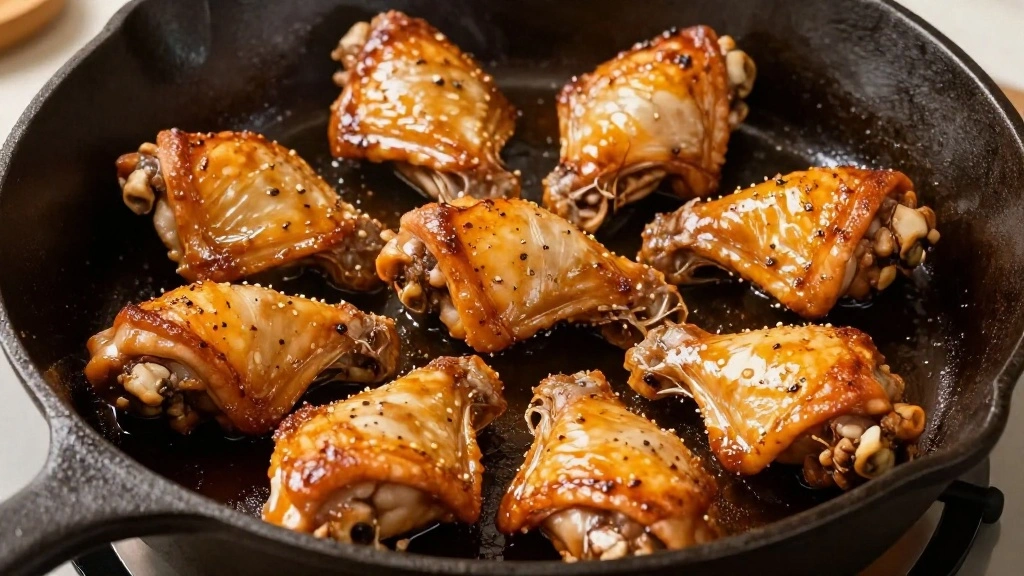
Add chicken thighs to the skillet skin-side down.
Cook without moving for about 5-7 minutes, until skin is golden and crisp.
Flip the chicken and cook for another 3 minutes.
Remove the chicken from the skillet and set aside.
Step 4: Infuse the Butter
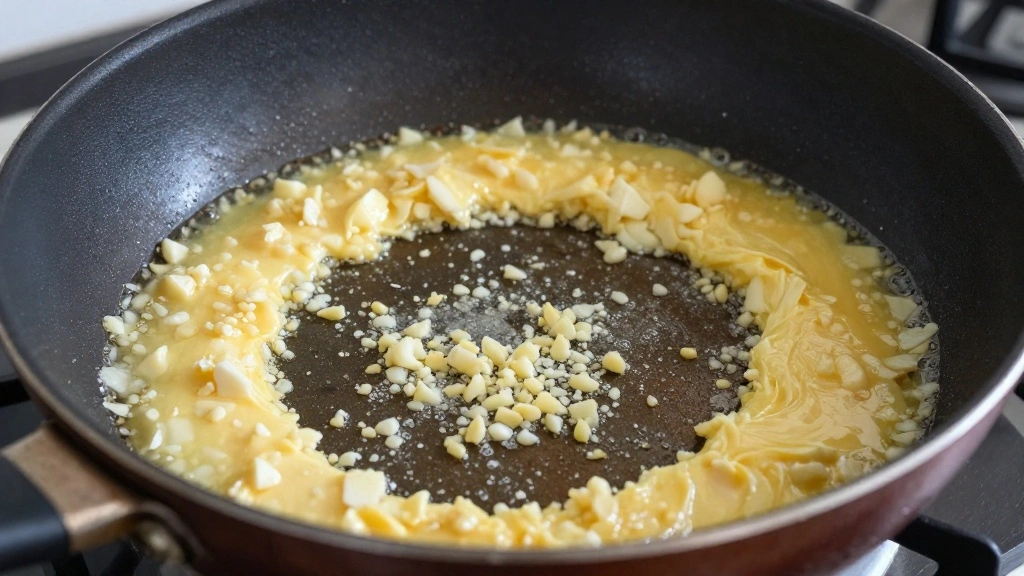
Reduce the heat to low.
Add remaining butter to the skillet along with minced garlic.
Stir continuously to prevent the garlic from burning.
Cook until the garlic is fragrant and golden.
Step 5: Deglaze the Pan
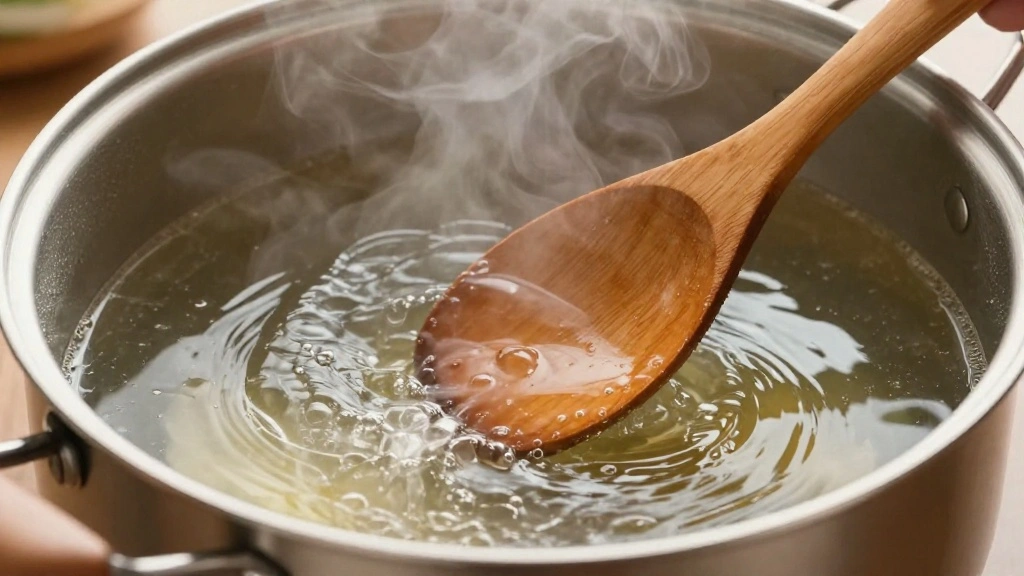
Add a splash of chicken broth to the skillet.
Use a wooden spoon to scrape up browned bits from the bottom.
Increase the heat slightly to bring the liquid to a simmer.
Ensure all flavorful bits are incorporated into the sauce.
Step 6: Return Chicken to the Pan
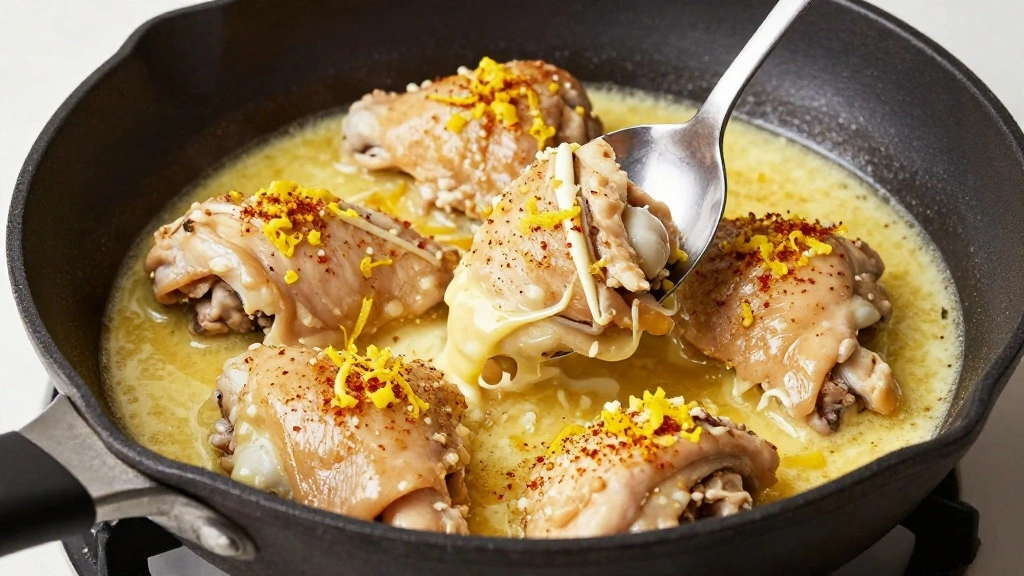
Place the browned chicken thighs back into the skillet.
Spoon the garlic butter sauce over each piece.
Sprinkle with lemon zest and paprika for added flavor.
Cover the skillet partially and let it simmer.
Step 7: Cook Until Done
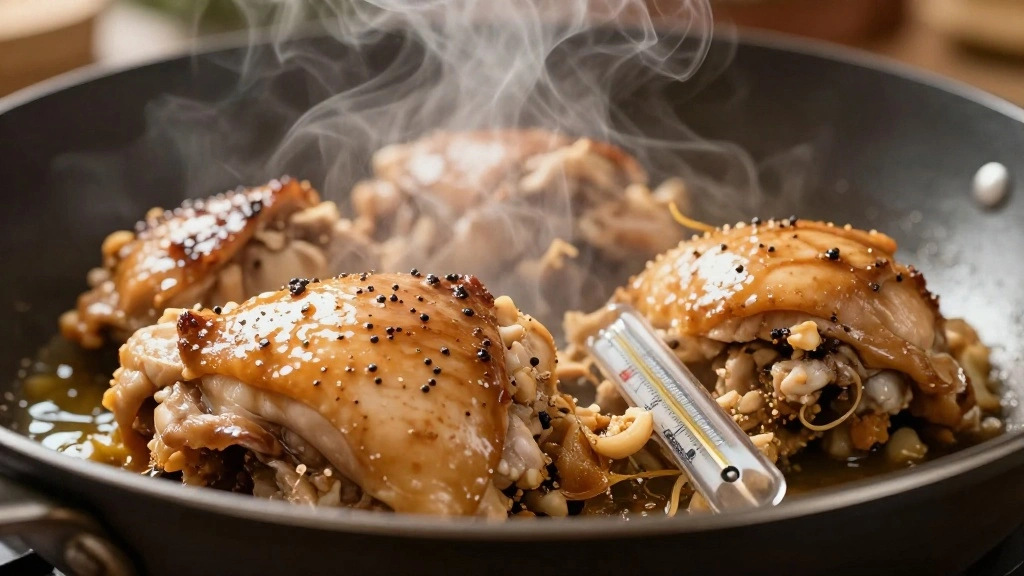
Let the chicken cook for another 10-12 minutes.
Check the internal temperature to ensure it reaches 165°F.
Look for the sauce to thicken slightly.
Ensure the chicken is fully cooked and tender.
Step 8: Finish with Fresh Herbs
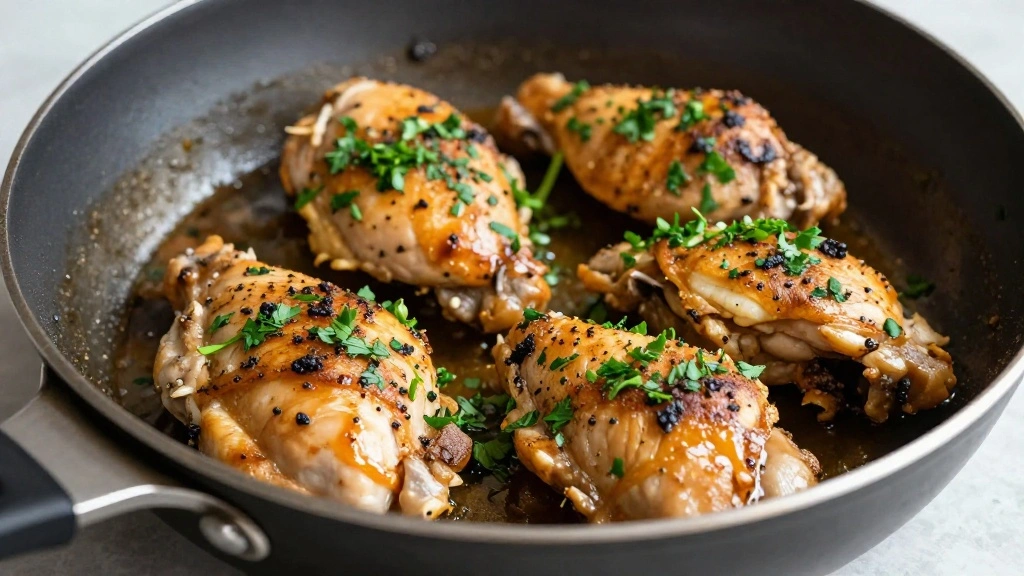
Remove the skillet from heat.
Sprinkle freshly chopped parsley over the chicken.
Let it rest for a few minutes before serving.
This final touch adds freshness and color.
Critical Timing and Temperature Guide
Browning Chicken: Cook skin-side down for 5-7 minutes until golden brown; avoid moving to ensure even browning.
Simmering: Maintain a low simmer for 10-12 minutes; look for a gentle bubble to avoid toughening the chicken.
Final Temperature: Ensure chicken reaches an internal temperature of 165°F; use a thermometer to avoid undercooking.
Pro Tips for One-Pan Garlic Butter
• Ingredient Selection: Choose organic chicken thighs and fresh garlic for the most robust flavor.
• Preparation Secret: Pat the chicken dry completely before seasoning to enhance browning.
• Temperature Management: Ensure the skillet is hot before adding chicken to prevent sticking.
• Texture Enhancement: Let the chicken rest after cooking to allow juices to redistribute, enhancing tenderness.
• Flavor Layering: Incorporate lemon zest and paprika for additional depth without overpowering the garlic butter.
• Make-Ahead Strategies: Marinate the chicken in advance and store in the refrigerator for up to 24 hours.
• Restaurant-Quality Finishing Touches: Garnish with a squeeze of lemon juice just before serving for brightness.
• Equipment Optimization: Preheat the skillet thoroughly to ensure even cooking and optimal flavor development.
Troubleshooting Common Issues
• Skin Not Crispy: Ensure the skillet is hot before adding chicken skin-side down; avoid overcrowding, which traps steam.
• Garlic Burned: Keep the heat low when infusing garlic in butter; stir gently and continuously to prevent burning.
• Sauce Too Watery: Simmer uncovered for a few extra minutes to reduce the sauce to desired thickness.
• Chicken Undercooked: Use a thermometer to check internal temperature; return to skillet if below 165°F.
• Flavor Lacking Depth: Ensure browned bits are scraped from the pan during deglazing to incorporate flavor into the sauce.
Variations and Regional Differences
• Italian Variation: Incorporate sun-dried tomatoes and basil for a Mediterranean twist, adding a touch of sweetness and herbaceous aroma.
• Asian-Inspired Version: Use sesame oil and soy sauce in place of butter and salt for an umami-rich alternative.
• Spicy Cajun Style: Add cayenne pepper and smoked paprika for a spicier, smoky flavor profile.
• French-Style: Incorporate white wine during deglazing and finish with tarragon for a classic French touch.
Food Science Behind the Recipe
• Maillard Reaction: This chemical reaction between proteins and sugars at high heat creates the rich, browned crust on the chicken.
• Emulsification: The butter and chicken juices form a stable sauce by emulsifying, which coats the chicken and enhances flavor.
• Flavor Compounds: Garlic releases sulfur compounds when minced, providing its characteristic pungent flavor that mellows during cooking.
Frequently Asked Questions
What's the most common mistake people make when preparing One-Pan Garlic Butter Chicken Thighs? One common mistake is not letting the skillet get hot enough before adding the chicken, resulting in sticking and uneven browning.
Can I use chicken breasts instead of thighs? Yes, but adjust the cooking time as breasts cook faster and can dry out if overcooked.
How long can I store leftovers? Store leftovers in an airtight container in the refrigerator for up to three days.
What can I serve alongside this dish? Serve with mashed potatoes, steamed vegetables, or a fresh salad to complement the rich flavors.
Can I make this dish dairy-free? Substitute butter with a plant-based alternative like margarine or olive oil for a dairy-free version.
Why is my sauce separating? Ensure to stir continuously when melting butter and garlic to maintain a stable emulsion.
How can I enhance the garlic flavor? Add roasted garlic paste or garlic powder to the sauce for a more intense garlic profile.
Can I use dried herbs instead of fresh? Yes, but reduce the quantity by half as dried herbs are more concentrated in flavor.
Serving and Presentation Guide
• Traditional Presentation: Serve directly from the skillet at the table for a rustic and communal dining experience.
• Modern Plating: Arrange chicken thighs on a large platter, drizzle with sauce, and garnish with lemon slices and parsley.
• Family Style: Serve with a side of crusty bread for dipping into the flavorful sauce.
• Individual Servings: Plate each thigh with a side of vegetables, and a dollop of sauce for a balanced and elegant meal.
Conclusion
Embarking on this One-Pan Garlic Butter Chicken Thighs recipe is a delightful journey into flavor and simplicity.
With minimal ingredients and effort, you can create a dish that satisfies and impresses.
Give it a try this week and watch it become a staple in your culinary repertoire.