Air Fryer Chicken Katsu Recipe – Crispy and Easy
This air fryer chicken katsu recipe transforms a beloved Japanese comfort food classic into a lighter, faster, and incredibly easy weeknight meal you can feel great about serving. Gone are the days of heating up a vat of oil and standing over a splattering skillet – your air fryer does all the heavy lifting while delivering that signature shatteringly crispy panko crust every single time. Whether you are brand new to Japanese cooking or a longtime katsu fan, this recipe meets you exactly where you are.
What makes this version so special is the texture. Panko breadcrumbs are the secret weapon here – their larger, flakier structure creates air pockets that toast up golden and crunchy in the circulating heat of the air fryer rather than simply absorbing grease like traditional breadcrumbs would. The result is a coating that stays crispy long after it leaves the basket, which means leftovers reheat beautifully too. Pair that crunch with a well-seasoned, pounded chicken breast and you have a combination that is hard to beat.
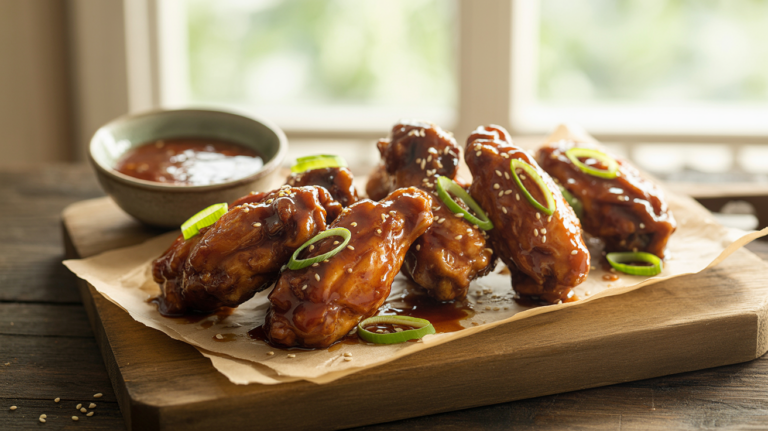
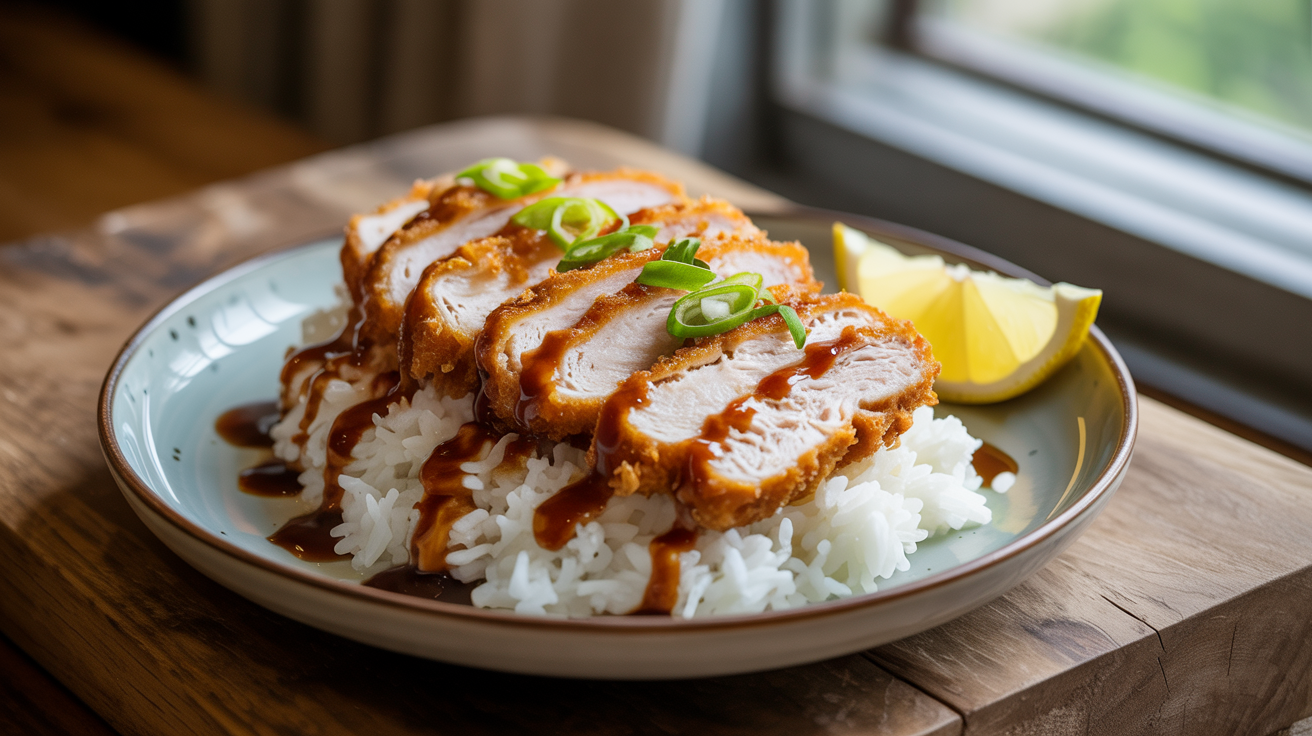
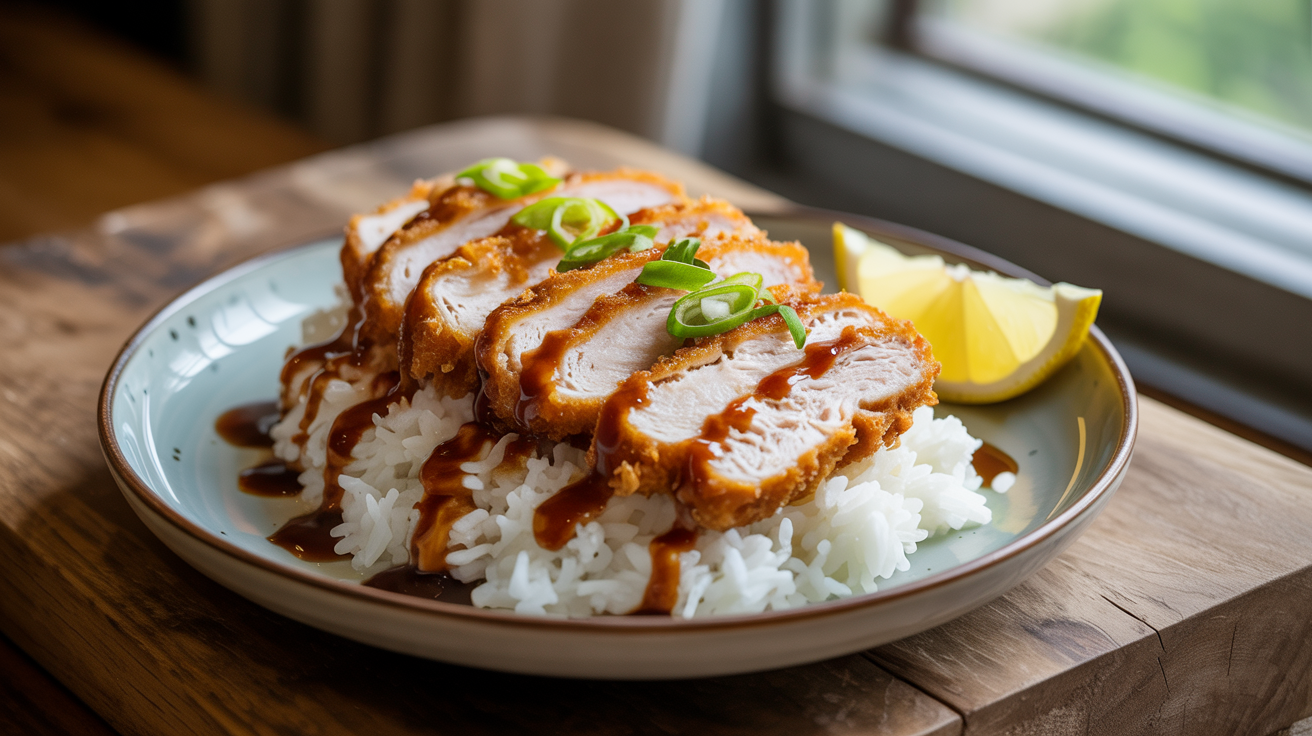
Served over steamed white rice with a drizzle of homemade tonkatsu sauce and a wedge of lemon, this dish checks every box – comforting, flavorful, visually stunning, and ready in under 30 minutes. It is the kind of meal that feels like a restaurant treat but costs a fraction of the price and requires almost no cleanup. Once you try making chicken katsu in the air fryer, you will never go back to the oil-splattered stovetop method again.
This air fryer chicken katsu recipe delivers incredibly crispy panko-breaded chicken with a juicy, tender interior and zero deep frying mess. Lighter than the traditional version, it comes together in just 30 minutes, making it the perfect weeknight dinner to add to your rotation today.
Ingredients
| AMOUNT | INGREDIENT | NOTES |
|---|---|---|
| 2 large | boneless skinless chicken breasts | halved horizontally to create 4 thin cutlets |
| 1 teaspoon | kosher salt | plus more to taste |
| 0.5 teaspoon | black pepper | freshly ground |
| 0.5 teaspoon | garlic powder | for extra savory depth |
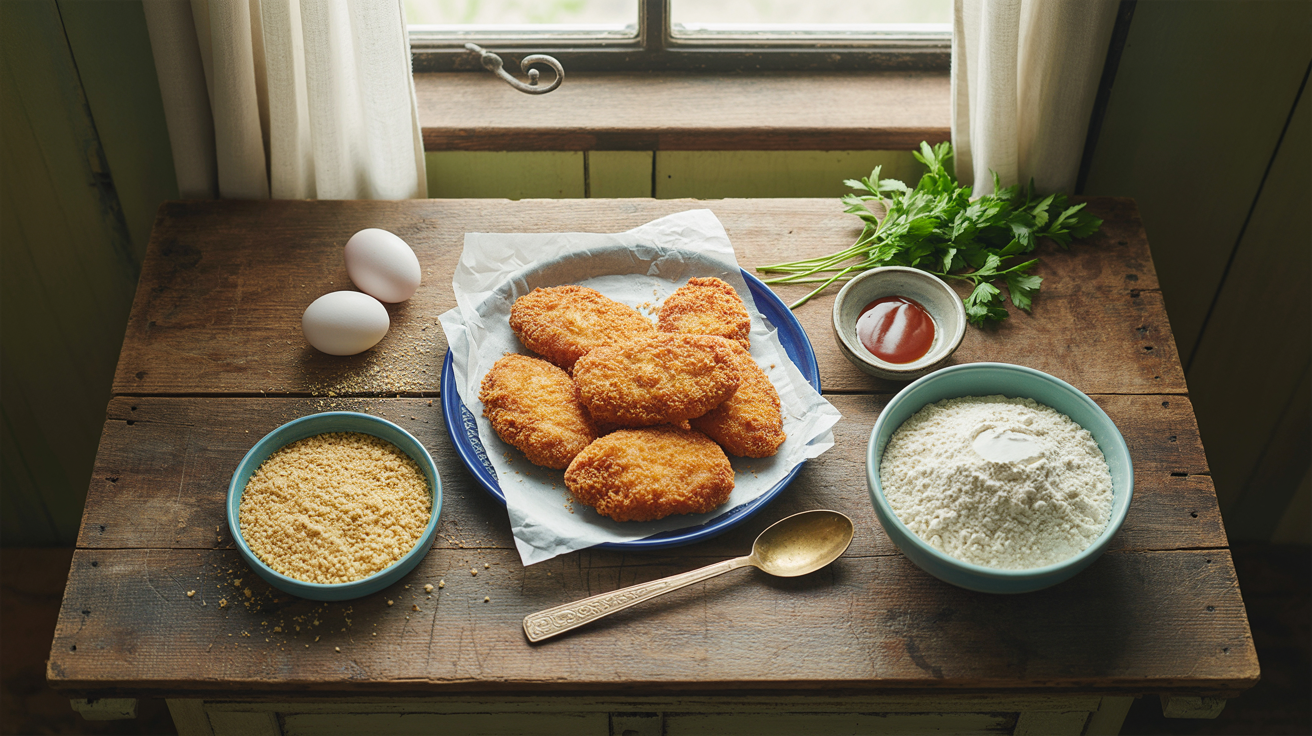
| 0.5 cup | all-purpose flour | for the first dredge station |
| 2 large | eggs | beaten until smooth |
| 1.5 cups | panko breadcrumbs | Japanese-style for maximum crunch |
| 2 tablespoons | neutral cooking oil spray | avocado or canola oil spray works best |
| 0.5 cup | tonkatsu sauce | store-bought or homemade for serving |
| 1 tablespoon | Worcestershire sauce | stir into tonkatsu sauce if making a quick version |
| 1 tablespoon | ketchup | mix with Worcestershire for a simple tonkatsu-style sauce |
| 2 cups | steamed white rice | short grain Japanese-style rice preferred for serving |
| 1 medium | lemon | cut into wedges for serving |
| 2 stalks | green onions | thinly sliced for garnish |
Instructions
Nutrition (per serving)
About This Recipe
Chicken katsu, known in Japanese as chikin katsu, is a beloved offshoot of the original tonkatsu – a dish that translates literally to pork cutlet. Tonkatsu itself was born during the Meiji era of Japan in the late 19th century, a fascinating period when Japan was actively embracing Western culinary influences. The concept of breading and frying a cutlet was borrowed from European dishes like the Austrian Wiener Schnitzel and the French cotolette, then lovingly adapted using Japanese pantry staples and cultural sensibilities. Over time, tonkatsu became so deeply embedded in Japanese food culture that it earned its own category of cuisine, known as yoshoku, or Western-influenced Japanese cooking.
Chicken katsu rose to prominence as a lighter and more affordable alternative to its pork predecessor, eventually becoming a staple in Japanese home kitchens, bento boxes, and casual restaurants called shokudo. It spread across Asia and eventually to Hawaiian plate lunch culture, where it became a regional icon often served with two scoops of rice and macaroni salad. Today, chicken katsu is recognized worldwide and has inspired countless adaptations, including the now-popular air fryer method that preserves all the flavor and texture of the original without the need for deep frying. It is a dish that beautifully bridges tradition and modern convenience.
Ready to Serve
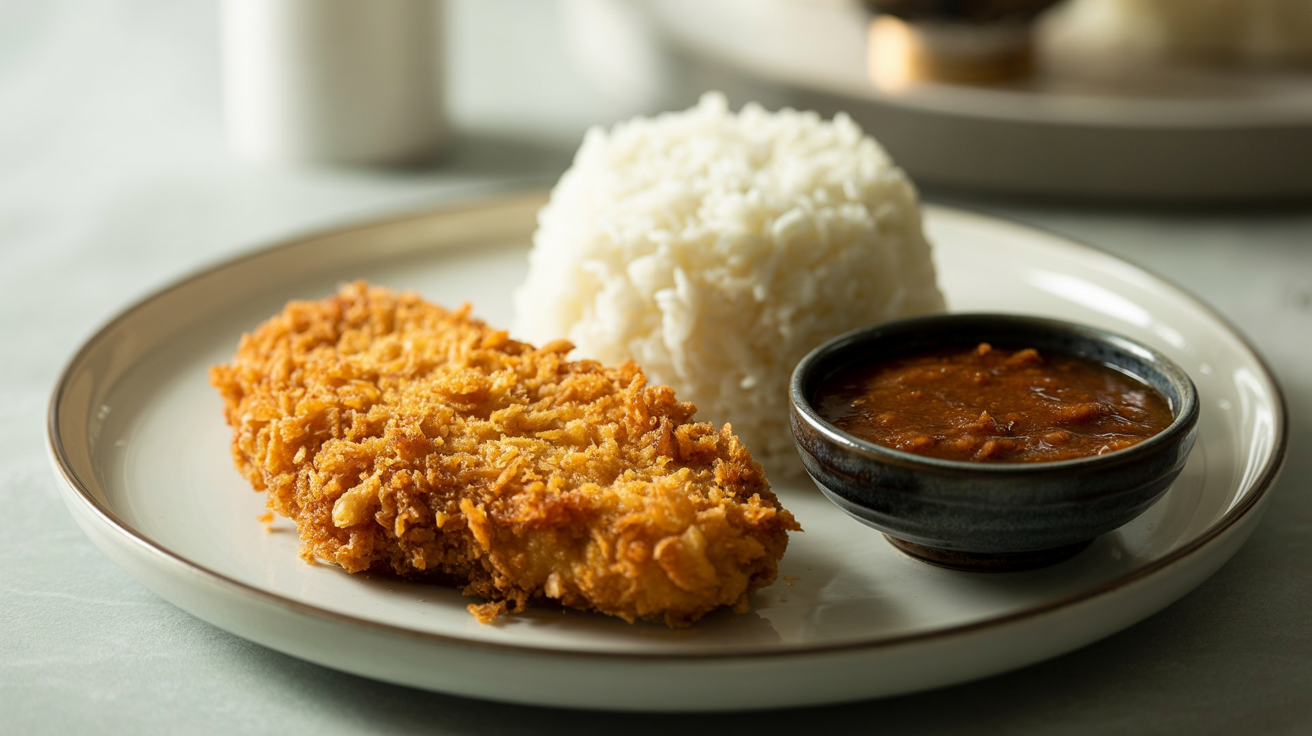
A Closer Look
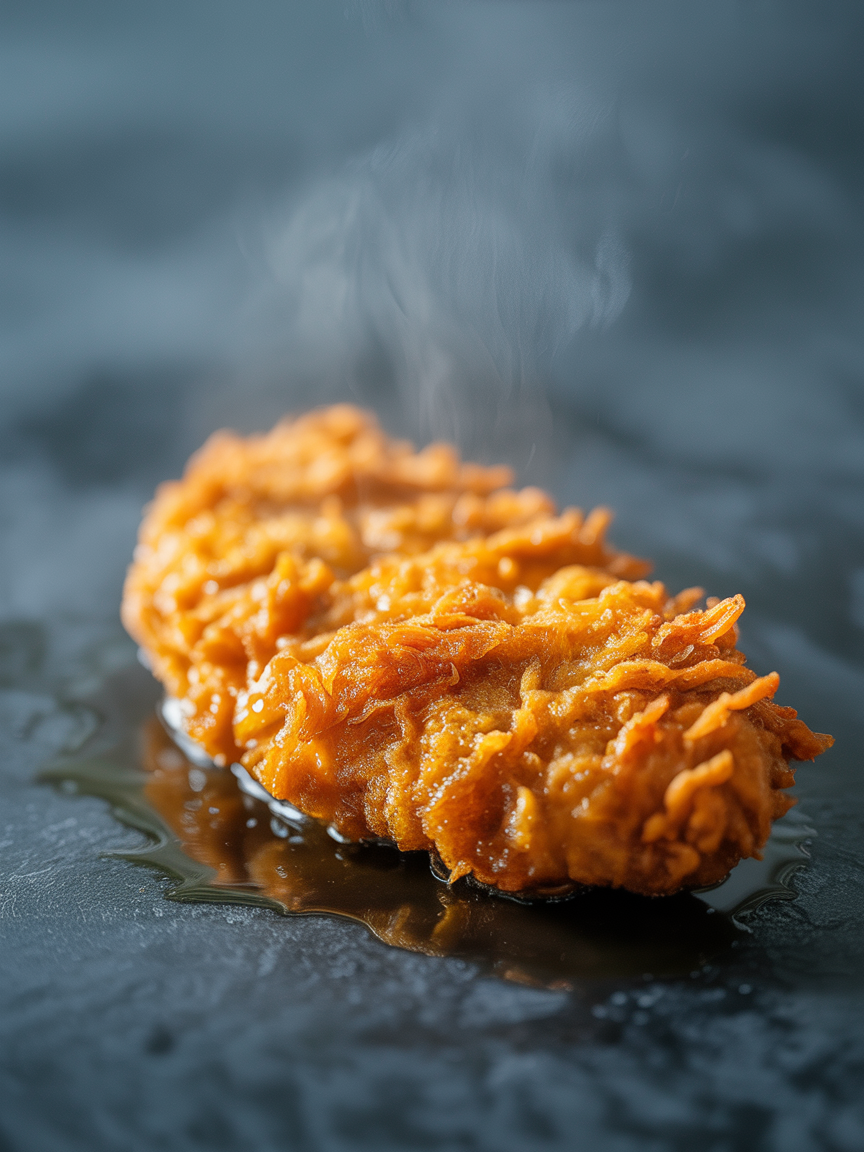
Pro Tips for Best Results
- Always pound your chicken to an even thickness before breading – uneven cutlets will cook inconsistently, leaving some parts overcooked and dry while others are underdone. Aim for a uniform thickness of about half an inch to three-quarters of an inch throughout each piece.
- Do not skip the cooking oil spray on the breaded cutlets. The air fryer relies on circulating hot air, and without a light coating of oil on the panko, the breadcrumbs will turn out pale and chalky rather than deeply golden and crispy. Spray both sides generously and do not be shy about it.
- Never overcrowd the air fryer basket. Air circulation is what makes the air fryer work, and if the cutlets are overlapping or crammed together, the moisture gets trapped and the coating steams instead of crisping. Cook in batches for the best results every single time.
- For the crispiest possible coating, toast the panko breadcrumbs in a dry skillet over medium heat for two to three minutes before using them in the breading station. Stir constantly and remove from heat as soon as they turn a light golden color. This pre-toasting gives you a head start on color and crunch.
- Leftovers reheat exceptionally well in the air fryer. Place cold katsu cutlets in the basket at 350 degrees Fahrenheit for three to four minutes until heated through and crispy again. Avoid reheating in the microwave as it will make the panko coating soft and soggy.
Essential Equipment
Air Fryer: The core tool for this recipe – circulates hot air to create a perfectly crispy panko crust without any oil submersion.
Meat Mallet or Rolling Pin: Used to pound the chicken breasts to an even thickness so they cook uniformly and stay juicy throughout.
Three Shallow Bowls: Essential for setting up a proper breading station with flour, egg wash, and panko in separate containers.
Wire Rack: Resting breaded chicken on a wire rack before air frying helps the coating adhere and prevents soggy bottoms.
Tongs: Allows you to flip the chicken cutlets midway through cooking without disturbing the crispy panko coating.
Instant Read Thermometer: Ensures the chicken reaches a safe internal temperature of 165 degrees Fahrenheit without overcooking.
Variations
Spicy Katsu: Add half a teaspoon of cayenne pepper and one teaspoon of smoked paprika to the panko breadcrumbs before breading. Serve with a spicy mayo drizzle made from mayonnaise and sriracha stirred together in equal parts.
Gluten-Free Version: Substitute the all-purpose flour with rice flour and use gluten-free panko breadcrumbs, which are widely available at Asian grocery stores and online. Make sure your Worcestershire sauce is also certified gluten-free for the dipping sauce.
Chicken Katsu Sandwich: Serve the sliced katsu cutlet on a toasted brioche bun with shredded cabbage, tonkatsu sauce, and Japanese-style mayo for a next-level sandwich that rivals anything you would find at a Japanese convenience store or casual restaurant.
Katsu Curry Bowl: Serve the crispy chicken katsu cutlets over steamed rice and ladle a rich Japanese curry sauce alongside or over the top. Use a store-bought Japanese curry roux block like Golden Curry for an incredibly fast and deeply flavorful weeknight meal.
Parmesan Herb Katsu: Mix one quarter cup of finely grated Parmesan cheese, one teaspoon of dried Italian herbs, and one teaspoon of lemon zest directly into the panko breadcrumbs before breading for an Italian-Japanese fusion twist that is absolutely addictive.
Frequently Asked Questions
Can I use chicken thighs instead of chicken breasts?
Yes, boneless skinless chicken thighs work beautifully in this recipe and many people actually prefer them because the higher fat content keeps the meat extra moist and juicy. Pound them to an even thickness and adjust the cook time slightly, as thighs may need an extra two to three minutes depending on their size.
Can I prepare the breaded chicken ahead of time?
Yes, you can bread the chicken cutlets up to 24 hours in advance. Place them on a wire rack set over a baking sheet, cover loosely with plastic wrap, and refrigerate. The rest time actually helps the coating adhere more firmly to the chicken, which can result in an even crispier finished product.
Can I freeze air fryer chicken katsu?
Yes, cooked chicken katsu freezes very well. Allow the cutlets to cool completely, then arrange them in a single layer on a baking sheet and freeze until solid before transferring to an airtight freezer bag or container. They will keep well for up to two months. Reheat directly from frozen in the air fryer at 375 degrees Fahrenheit for six to eight minutes.
Why is my panko coating falling off during cooking?
The most common reason for the coating falling off is skipping the resting period after breading. Those five minutes on the wire rack allow the egg wash to act as glue and help the panko really bond to the flour layer underneath. Also make sure you are pressing the panko firmly onto the chicken with your palm and that you are not moving the cutlets around too aggressively when placing them in the air fryer basket.
What can I serve with chicken katsu besides rice?
Chicken katsu is incredibly versatile. Try serving it over a simple shredded cabbage salad with a sesame ginger dressing, alongside Japanese-style pickled cucumbers, over a bowl of ramen noodles, or even sliced on top of a hearty udon soup. For a low carb option, cauliflower rice or a simple green salad works wonderfully as well.
What temperature should chicken katsu be cooked to?
Chicken is safe to eat and at its juiciest when cooked to an internal temperature of 165 degrees Fahrenheit as measured by an instant read thermometer inserted into the thickest part of the cutlet. Do not rely solely on color or timing since air fryer models can vary quite a bit in their actual output temperature and heat distribution.