
Best Thai Peanut Chicken Recipe Ready in 30 Min
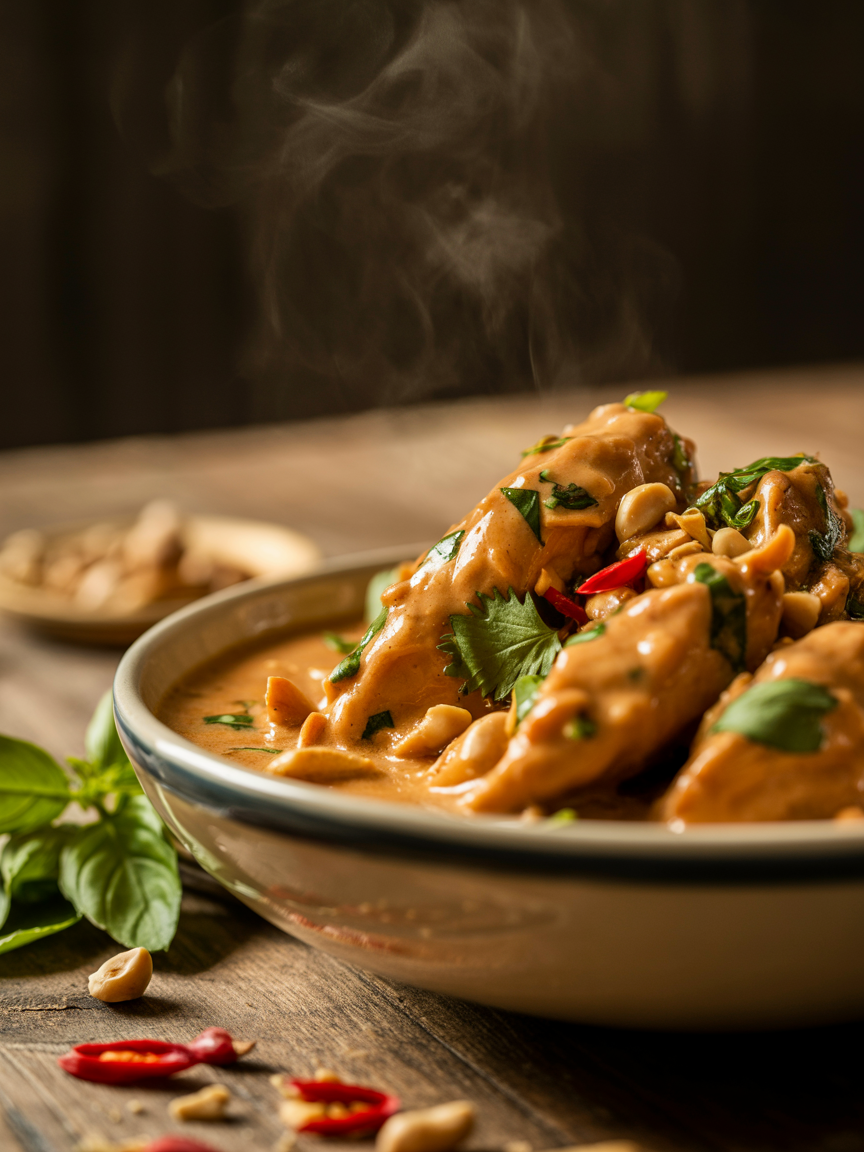
This thai peanut chicken recipe is the bold, flavor-packed dinner you have been craving, combining tender chicken thighs with a luscious, spicy peanut sauce that comes together in just 30 minutes. Every bite delivers a perfect harmony of savory, sweet, tangy, and heat that will make your taste buds dance with excitement. Whether you are a seasoned home cook or just starting your culinary journey, this dish is approachable, fast, and absolutely irresistible.
The secret to this recipe lies in the homemade peanut sauce, crafted from creamy natural peanut butter, rich coconut milk, fresh ginger, and a generous splash of lime juice. Unlike store-bought versions loaded with preservatives and excess sugar, this sauce is pure, vibrant, and deeply satisfying. It coats every piece of chicken beautifully and doubles as an incredible drizzle over jasmine rice or fresh noodles.
What makes this dish a true weeknight hero is how little effort it takes to achieve such spectacular results. With minimal prep, one pan, and a handful of pantry staples, you can have a meal on the table that tastes like it came from your favorite Thai restaurant. Once you try it, this recipe will earn a permanent spot in your weekly dinner rotation.
This thai peanut chicken recipe delivers bold, creamy, and spicy flavors in just 30 minutes. Packed with protein, vibrant vegetables, and a rich homemade peanut sauce, it brings restaurant-quality Thai food to your kitchen. Make it tonight for a dinner everyone will rave about.
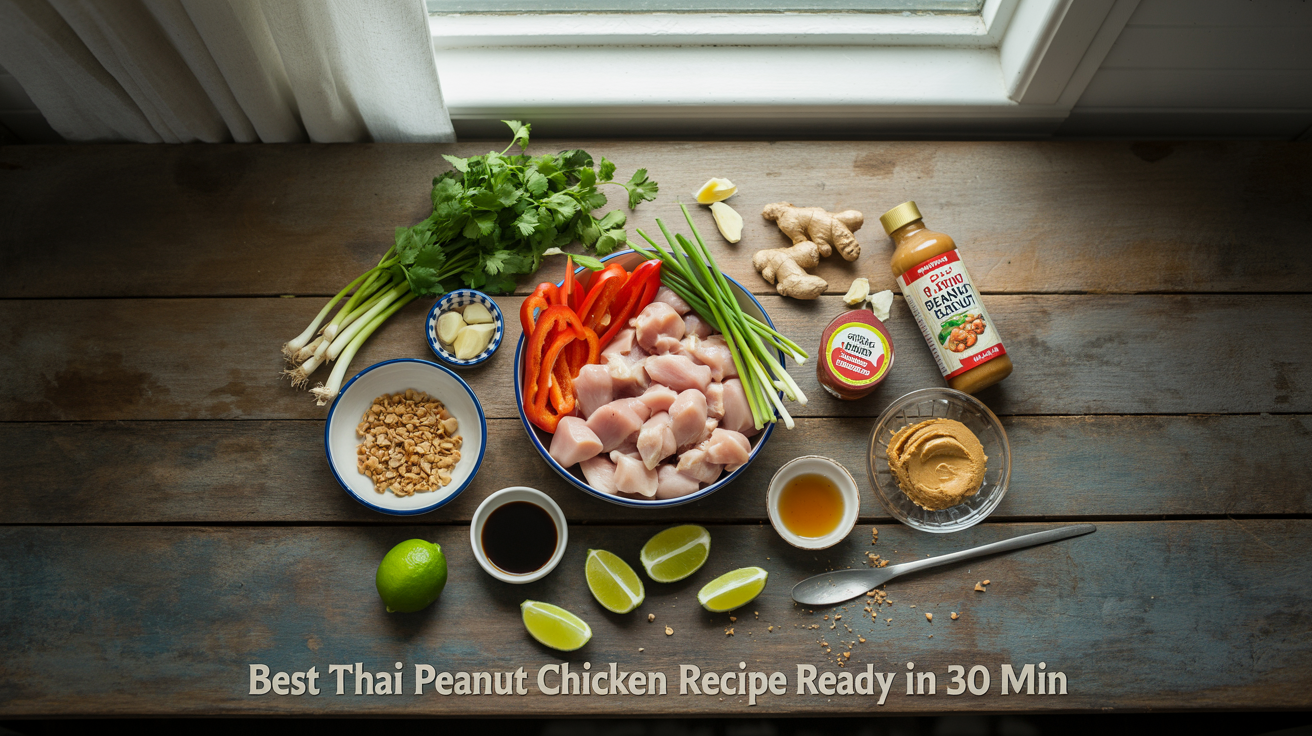
Ingredients
| AMOUNT | INGREDIENT | NOTES |
|---|---|---|
| 1.5 pounds | boneless skinless chicken thighs | cut into 1-inch bite-sized pieces |
| 2 tablespoons | avocado oil or vegetable oil | for high-heat cooking |
| 1 teaspoon | kosher salt | for seasoning chicken |
| 0.5 teaspoon | black pepper | freshly ground |
| 4 cloves | garlic | minced |
| 1 tablespoon | fresh ginger | finely grated |
| 1 cup | red bell pepper | thinly sliced |
| 1 cup | broccoli florets | cut into small pieces |
| 3 stalks | green onions | sliced, whites and greens separated |
| 0.5 cup | natural creamy peanut butter | no added sugar or oils |
| 0.5 cup | full-fat coconut milk | shaken well before opening |
| 3 tablespoons | low-sodium soy sauce | or tamari for gluten-free |
| 2 tablespoons | lime juice | freshly squeezed, about 1 large lime |
| 1 tablespoon | sriracha sauce | adjust to preferred heat level |
| 1 tablespoon | honey | or maple syrup for vegan option |
| 1 tablespoon | rice vinegar | for brightness and balance |
| 1 teaspoon | sesame oil | toasted, added at the end for aroma |
| 0.25 cup | chicken broth | to thin sauce if needed |
| 0.25 cup | roasted peanuts | roughly chopped, for garnish |
| 2 tablespoons | fresh cilantro | roughly chopped, for garnish |
| 1 teaspoon | red pepper flakes | optional, for extra heat |
| 1 tablespoon | sesame seeds | toasted, for garnish |
Instructions
Nutrition (per serving)
About This Recipe
Thai peanut sauce has its roots in the rich culinary traditions of Southeast Asia, where peanuts were introduced through trade routes from South America in the 16th century by Portuguese and Spanish traders. The sauce, known locally as satay sauce or nam jim thua, became a beloved condiment throughout Thailand, Indonesia, and Malaysia. In Thai cuisine, it evolved into a complex blend of roasted peanuts, coconut milk, aromatics like lemongrass and galangal, and bold spices that reflected the countrys love for layered, balanced flavors. Over centuries, it became inseparable from Thai street food culture, served alongside grilled meats, fresh spring rolls, and rice dishes sold by vendors throughout bustling Bangkok markets and coastal fishing villages alike.
As Thai cuisine gained global popularity throughout the late 20th century, especially in the United States, Europe, and Australia, dishes like peanut chicken became gateway meals that introduced Western audiences to the vibrant world of Southeast Asian cooking. Thai restaurants adapted traditional satay and curry concepts into hearty chicken dishes smothered in creamy peanut sauce, which resonated deeply with Western palates seeking bold yet approachable flavors. Today, the thai peanut chicken recipe is a celebrated fusion staple that honors its Southeast Asian heritage while embracing the convenience and creativity of modern home cooking. It stands as a testament to how food travels across cultures and evolves into something both familiar and excitingly new.
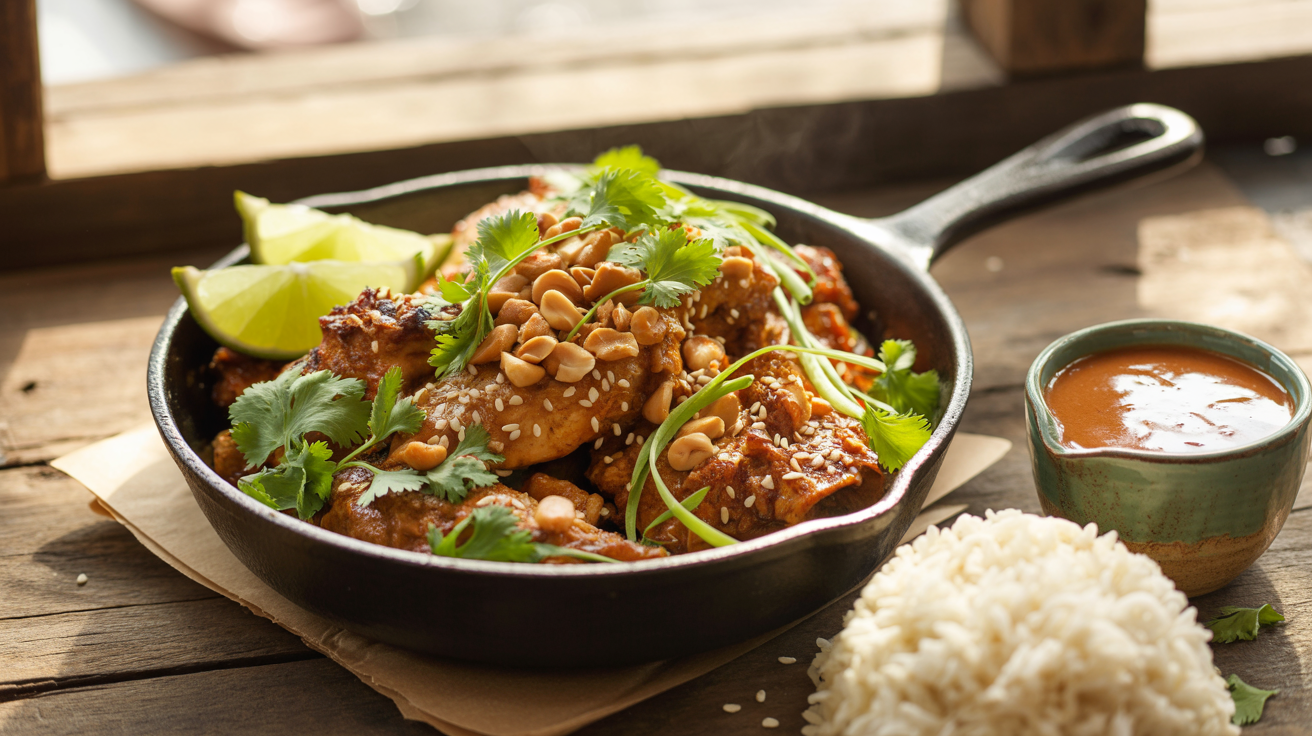
Ready to Serve
A Closer Look
Pro Tips for Best Results
- Always use natural peanut butter with no added sugar or hydrogenated oils for the most authentic and richest peanut flavor. The oils that naturally separate in natural peanut butter actually help create a silkier sauce when whisked with coconut milk.
- Do not skip drying the chicken thoroughly before searing. Moisture on the surface of the meat prevents proper browning and results in steamed, pale chicken that lacks the deep golden crust that adds so much flavor to the dish.
- Make the peanut sauce up to 3 days in advance and store it covered in the refrigerator. It will thicken when cold, so simply whisk in a splash of warm water or chicken broth to loosen it back to the right consistency before cooking.
- For the most vibrant and fresh-tasting dish, add a generous squeeze of fresh lime juice right before serving. Acid brightens all the flavors and balances the richness of the coconut milk and peanut butter beautifully.
- Control the heat level by adjusting the amount of sriracha in the sauce and the optional red pepper flakes used as garnish. For a milder version suitable for children or spice-sensitive guests, start with just half a tablespoon of sriracha and serve extra hot sauce on the side.
Essential Equipment
Large Skillet or Wok: Essential for achieving high heat and even cooking when searing chicken and tossing vegetables in the sauce.
Chef Knife: Needed for precise and efficient chopping of chicken, garlic, ginger, and fresh vegetables.
Cutting Board: Provides a safe and stable surface for all your prep work throughout the recipe.
Mixing Bowl: Used to whisk together all the peanut sauce ingredients into a smooth, well-combined mixture.
Whisk or Fork: Helps emulsify the peanut butter with coconut milk and other liquids for a silky smooth sauce.
Measuring Cups and Spoons: Ensures accurate proportions of sauce ingredients for consistent, balanced flavor every time.
Wooden Spoon or Silicone Spatula: Ideal for stirring and tossing the chicken and sauce without scratching your pan surface.
Grater or Microplane: Perfect for finely grating fresh ginger and garlic to maximize their flavor in the sauce.
Variations
Extra Spicy Version: Double the sriracha in the sauce and add one tablespoon of sambal oelek along with a full teaspoon of red pepper flakes. You can also add one minced fresh Thai bird chili to the aromatics for an authentic fiery punch that serious heat lovers will adore.
Low Carb and Keto: Serve the peanut chicken over cauliflower rice instead of jasmine rice, and replace the honey with a few drops of liquid stevia or simply omit the sweetener entirely. This keeps the dish rich and satisfying while dramatically reducing the carbohydrate content to fit a ketogenic lifestyle.
Vegetarian and Vegan: Substitute the chicken with extra-firm tofu that has been pressed for at least 30 minutes to remove excess moisture, then cubed and pan-fried until crispy. Replace chicken broth with vegetable broth and swap honey for maple syrup to make the entire dish completely plant-based without sacrificing any of the bold flavor.
Slow Cooker Version: Place raw chicken thighs whole into the slow cooker and pour the prepared peanut sauce over them. Cook on low for 6 to 7 hours or high for 3 to 4 hours until the chicken is fall-apart tender. Shred the chicken directly in the pot, stir in quickly sauteed vegetables, and serve. This version is ideal for meal prepping large batches.
Noodle Bowl Version: Toss the finished peanut chicken and sauce with cooked rice noodles or udon noodles directly in the pan for a heartier noodle bowl. Top with shredded purple cabbage, julienned carrots, bean sprouts, and a drizzle of extra peanut sauce for a colorful and satisfying meal inspired by classic Thai noodle dishes.
Frequently Asked Questions
Can I make this thai peanut chicken recipe ahead of time?
Yes, you can prepare this dish up to 3 days in advance and store it in an airtight container in the refrigerator. The flavors actually deepen and improve overnight. Reheat gently on the stovetop over medium-low heat with a splash of water or coconut milk to loosen the sauce.
Can I freeze spicy thai peanut chicken?
Yes, this dish freezes very well. Allow it to cool completely, then transfer to freezer-safe airtight containers and freeze for up to 3 months. Thaw overnight in the refrigerator and reheat on the stovetop, adding a little liquid to restore the sauce to its original creamy consistency.
What can I substitute for peanut butter if I have a peanut allergy?
Sunflower seed butter or almond butter are excellent allergy-friendly substitutes that create a similarly creamy sauce. Tahini made from sesame seeds also works beautifully and adds a slightly nutty, earthy flavor that pairs wonderfully with the other Thai-inspired seasonings in this recipe.
Can I use chicken breast instead of chicken thighs?
Absolutely, chicken breast works well in this recipe though it cooks slightly faster and can become dry if overcooked. Cut it into similar 1-inch pieces and reduce the searing time by about 1 minute per side. Chicken thighs are preferred because their higher fat content keeps them juicy and flavorful even when cooked in a sauce.
Is this recipe gluten-free?
This recipe can easily be made gluten-free by substituting regular soy sauce with tamari or certified gluten-free coconut aminos. All other ingredients in this recipe are naturally free of gluten, making it a great option for those with celiac disease or gluten sensitivity.
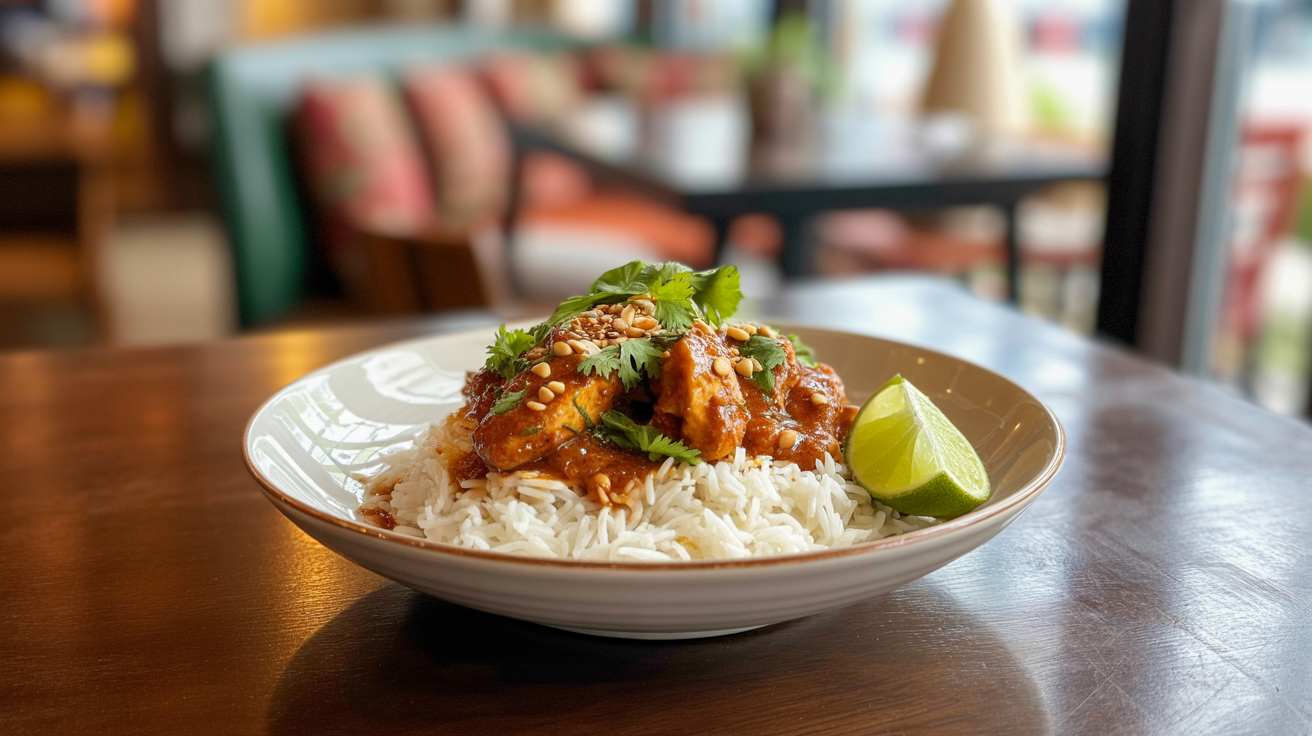
What should I serve with thai peanut chicken?
Steamed jasmine rice is the classic pairing and absorbs the peanut sauce beautifully. Rice noodles, quinoa, or cauliflower rice are also excellent options. For sides, consider a simple cucumber salad with rice vinegar dressing, steamed edamame, or crispy spring rolls to round out a complete Thai-inspired meal.