Hearty Chicken Tikka Masala: A Flavor Explosion from India
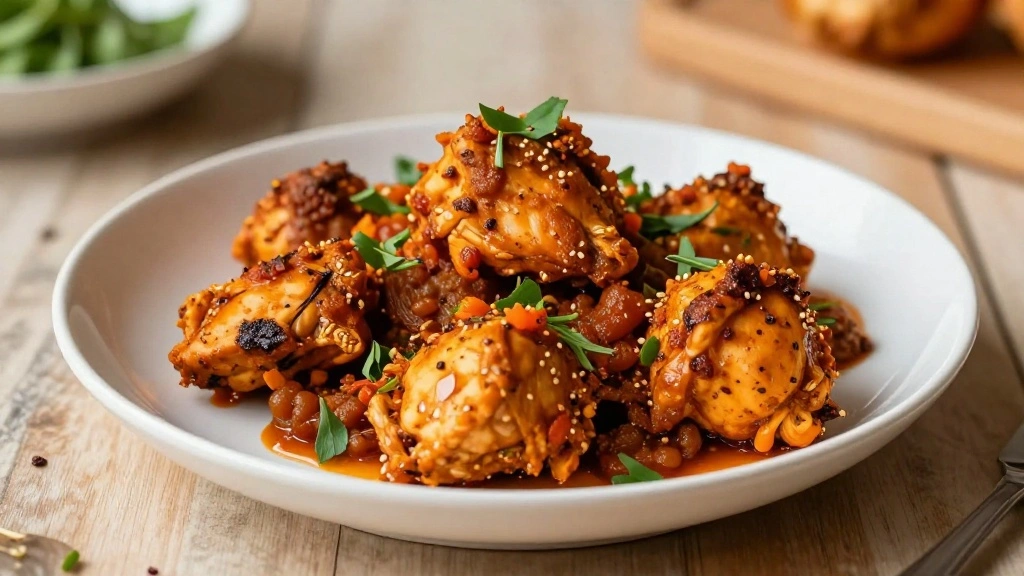
The harmonious balance of spices and cream in Chicken Tikka Masala creates a memorable dining experience that will have everyone asking for your secret.
I discovered this recipe during my travels through India, where local chefs have perfected it through generations of careful refinement.
Whether you’re preparing a casual family dinner or hosting a special celebration, this Chicken Tikka Masala delivers impressive results with straightforward preparation.
This classic dish brings together centuries of culinary tradition with modern techniques to create a dish that’s both comforting and elegant.
The rich, creamy tomato sauce envelopes tender pieces of chicken, creating a symphony of flavors in every bite.
The History and Cultural Significance
• Hearty Chicken Tikka traces its origins to the Indian subcontinent, where it was originally created by chefs in the Mughal Empire.
• The dish evolved over decades as chefs began incorporating a tomato-based sauce and cream, eventually becoming the beloved version we know today.
• In Indian culture, this dish traditionally appears at festive occasions and family gatherings, symbolizing warmth and hospitality.
• While many variations exist across different regions, the authentic version maintains a balance of spices and creaminess that sets it apart from imitations.
Recipe Overview
Nutritional Information (per serving)
Essential Equipment Guide
Cast Iron Skillet: A cast iron skillet is essential for achieving the perfect sear on the chicken pieces, ensuring a delicious caramelized crust. Alternatives like a heavy-bottomed stainless steel pan can work, but cast iron retains heat better, providing more consistent results.
Blender: A blender is crucial for creating the smooth, creamy sauce that defines Chicken Tikka Masala. While a food processor can be used, a high-speed blender will achieve a silkier texture.
Meat Thermometer: Ensuring the chicken is cooked to the perfect temperature is vital for both safety and texture. A meat thermometer takes the guesswork out of the process, ensuring juicy, tender chicken.
Ingredients
For the Marinade
|
| Amount | Ingredient | Notes |
|---|---|---|
| 500 grams | chicken breast | cut into bite-sized pieces |
| 1 cup | plain yogurt | acts as a tenderizer |
| 2 tablespoons | lemon juice | adds tanginess |
| 2 teaspoons | garam masala | authentic spice blend |
| 1 teaspoon | cumin | earthy flavor |
For the Sauce
| Amount | Ingredient | Notes |
|---|---|---|
| 2 tablespoons | butter | adds richness |
| 1 large | onion | finely chopped |
| 4 cloves | garlic | minced |
| 1 inch | ginger | grated |
| 1 can | tomato puree | smooth base for sauce |
| 1 cup | heavy cream | creates creamy texture |
Seasonings
| Amount | Ingredient | Notes |
|---|---|---|
| 1 teaspoon | turmeric | adds color |
| 2 teaspoons | coriander | citrusy notes |
| 1 teaspoon | cayenne pepper | adds heat |
| 1 teaspoon | salt | enhances overall flavor |
| Fresh cilantro | for garnish |
Preparation Methods
Marinating: Marinating the chicken in yogurt and spices helps infuse it with flavor and tenderness. The acid in the yogurt breaks down protein fibers, making the chicken more succulent. Aim for at least 30 minutes of marination for optimal results.
Tempering Spices: This technique involves frying whole spices in hot oil or butter to release their essential oils, creating a more intense flavor. Be cautious not to burn the spices, as this can result in bitterness.
Simmering: Gently simmering the sauce allows the flavors to meld together and the liquid to reduce, resulting in a rich, concentrated sauce. Keep the temperature low to prevent the cream from curdling.
Step 1: Prepare Ingredients
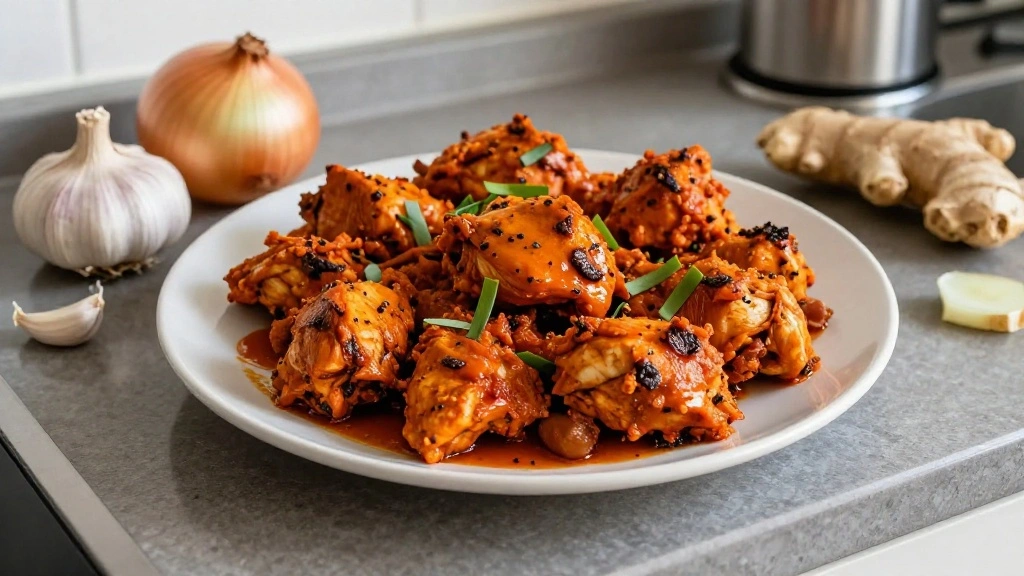
Gather all ingredients and measure them out.
Cut the chicken into bite-sized pieces.
Chop the onion finely and mince the garlic.
Grate the ginger and set aside.
Step 2: Marinate Chicken
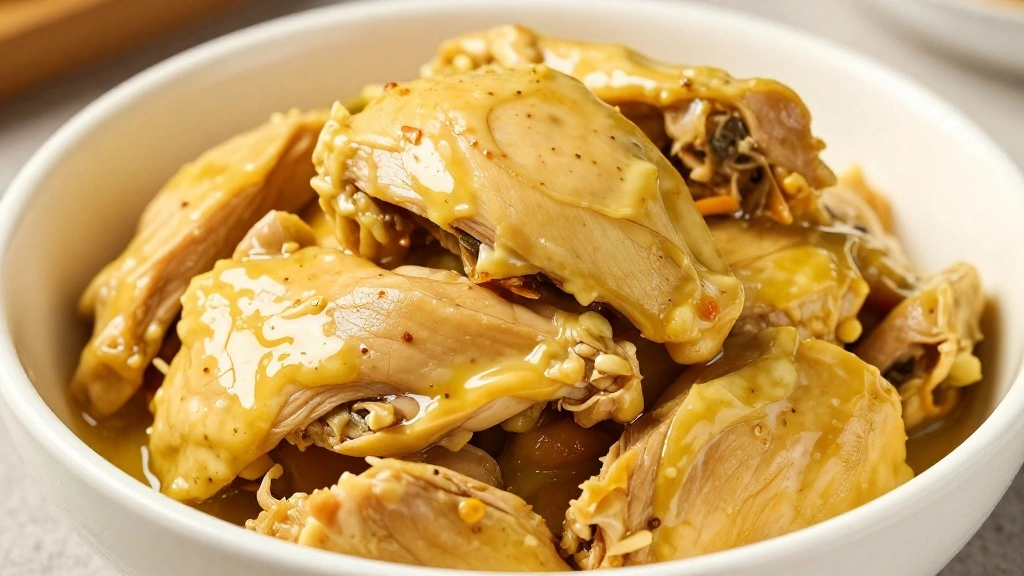
In a large bowl, combine yogurt, lemon juice, garam masala, and cumin.
Add the chicken pieces and mix until well coated.
Cover the bowl and refrigerate for at least 30 minutes.
This allows the flavors to penetrate the chicken.
Step 3: Sear the Chicken
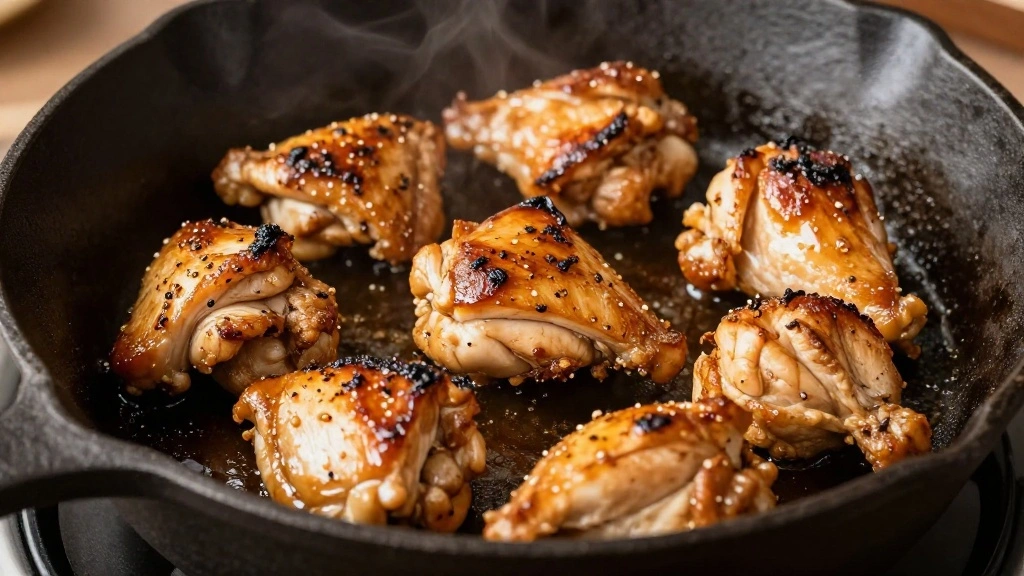
Heat a cast iron skillet over medium-high heat and add a tablespoon of oil.
Once hot, add the marinated chicken pieces in batches.
Sear until browned on all sides but not fully cooked.
Remove from skillet and set aside.
Step 4: Prepare the Sauce Base
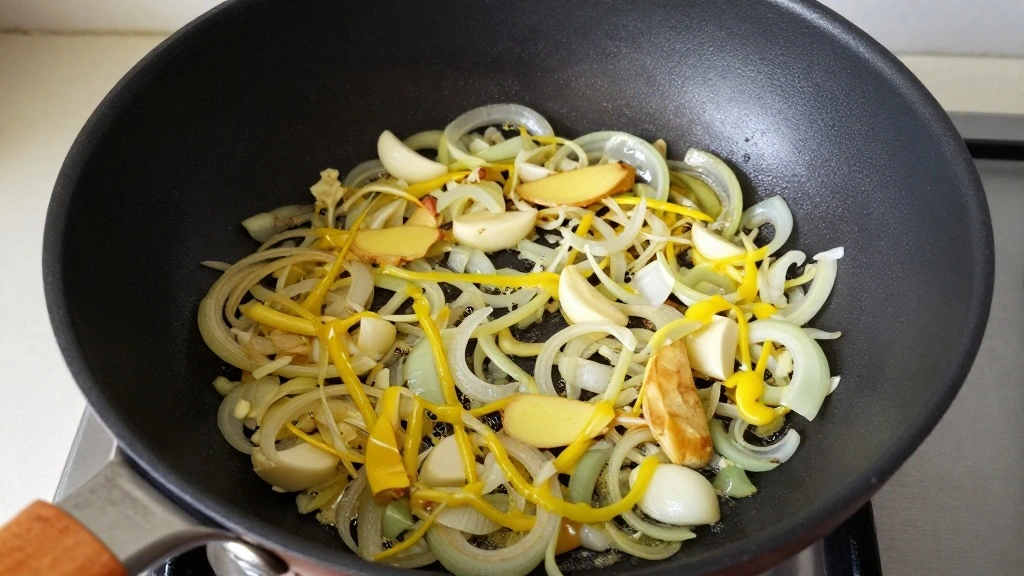
In the same skillet, melt butter over medium heat.
Add chopped onion and sauté until translucent.
Stir in minced garlic and grated ginger.
Cook until aromatic, about 2 minutes.
Step 5: Add Spices
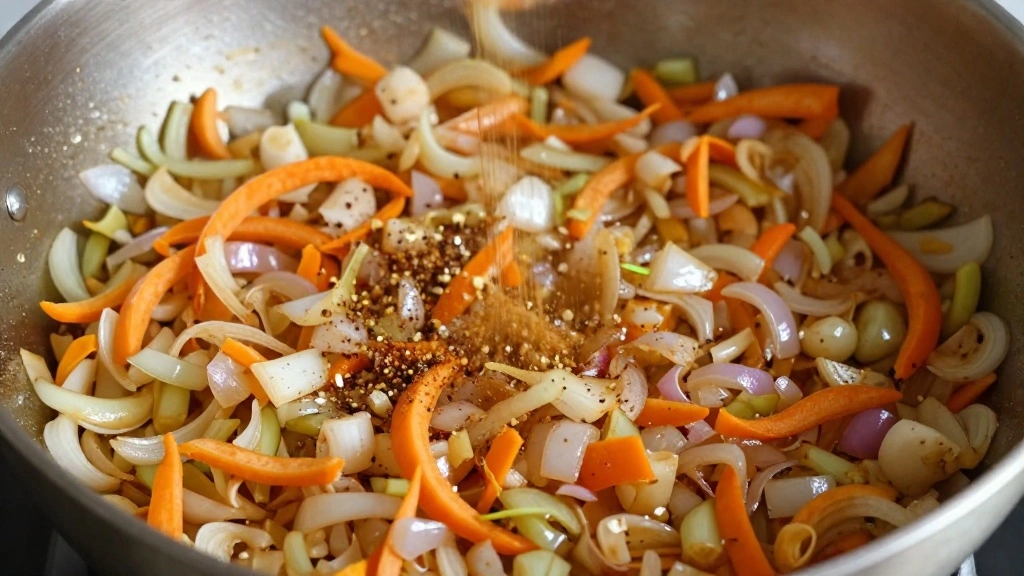
Sprinkle turmeric, coriander, cayenne pepper, and salt into the skillet.
Stir to coat the onion mixture with spices.
Cook for 1-2 minutes until the spices are fragrant.
Ensure spices do not burn.
Step 6: Incorporate Tomato Puree
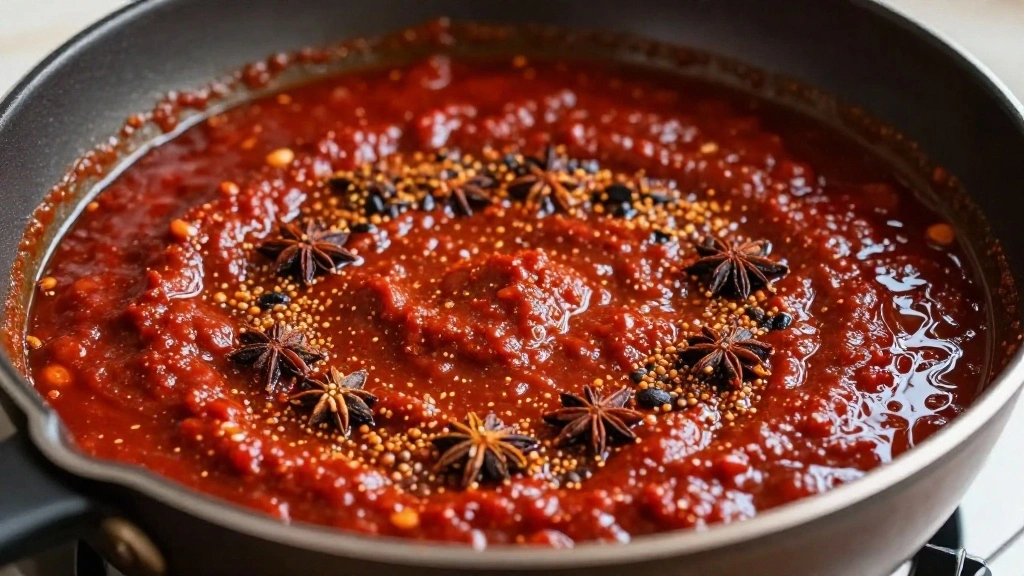
Pour in the tomato puree and stir to combine with the spice mixture.
Bring the mixture to a gentle simmer.
Let it cook for 10 minutes to thicken slightly.
Stir occasionally to prevent sticking.
Step 7: Add Chicken and Cream
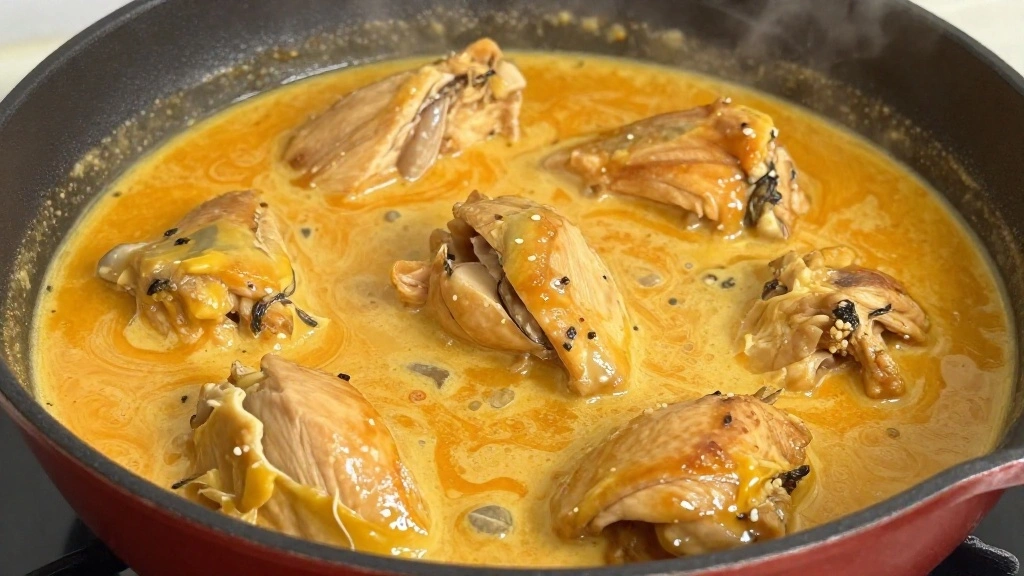
Return the seared chicken pieces to the skillet.
Pour in the heavy cream and stir to combine.
Simmer on low heat until the chicken is cooked through and the sauce thickens slightly.
Adjust seasoning if necessary.
Step 8: Garnish and Serve
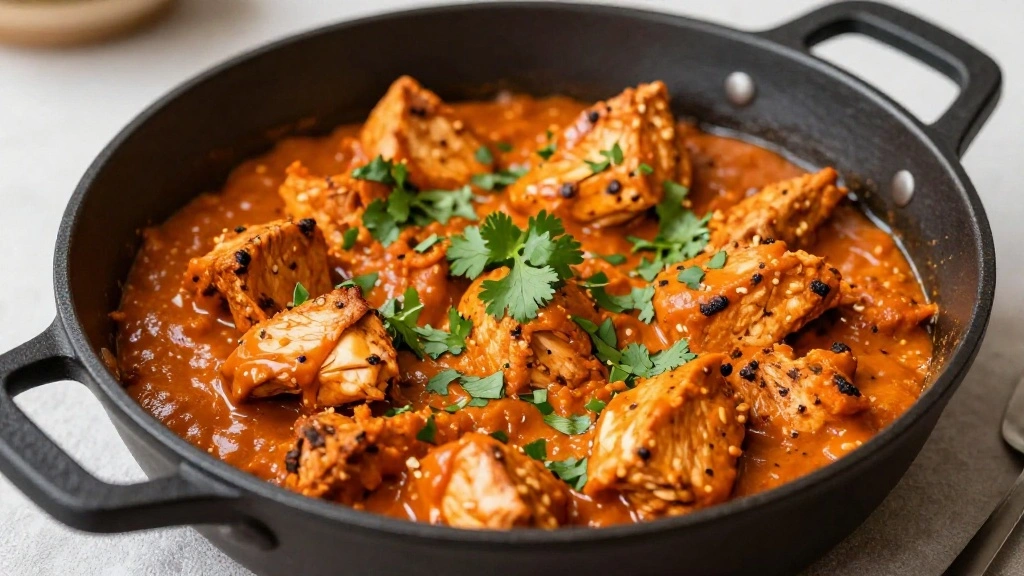
Remove the skillet from heat once the chicken is tender.
Garnish with freshly chopped cilantro.
Serve hot with naan or basmati rice.
Enjoy the rich, flavorful dish.
Critical Timing and Temperature Guide
Marination: Marinate for at least 30 minutes. Longer marination up to 4 hours enhances flavor absorption. Avoid overnight marination to prevent yogurt acidity from toughening the meat.
Searing Chicken: Sear chicken on medium-high heat for 3-4 minutes per side until golden brown. Avoid crowding the pan to ensure even browning and prevent steaming.
Sauce Simmering: Simmer the sauce on low heat for 20-25 minutes. Look for a thickened consistency and a glossy appearance. Stir occasionally to prevent scorching.
Pro Tips for Hearty Chicken Tikka
• Ingredient Selection: Choose fresh, high-quality chicken and whole spices for the most authentic flavor. Garam masala and cumin make the biggest difference.
• Preparation Secret: Toast whole spices before grinding to intensify their flavor and aroma.
• Temperature Management: Ensure skillet is hot before adding chicken to achieve proper sear.
• Texture Enhancement: Use heavy cream instead of milk for a richer, creamier sauce.
• Flavor Layering: Gradually add spices to the sauce, allowing them to bloom and develop depth.
• Make-Ahead Strategies: Prepare the sauce a day in advance and refrigerate. Reheat gently before adding seared chicken.
• Restaurant-Quality Finishing Touches: Add a dollop of butter at the end for a glossy finish.
• Equipment Optimization: Use a lid for the skillet when simmering to prevent sauce from reducing too much.
Troubleshooting Common Issues
• Texture Too Dense: Caused by overcooking the chicken. Ensure chicken is only seared initially and finished cooking in sauce.
• Flavors Unbalanced: If too spicy, add more cream or a pinch of sugar. If too bland, increase salt and spices gradually.
• Sauce Too Thin: Simmer without a lid to reduce. Stir frequently and be patient as sauce thickens naturally.
• Curdled Cream: Prevent by keeping the sauce at a gentle simmer and stirring continuously when adding cream.
• Burnt Spices: Ensure spices are added at the right time and not on high heat. If burnt, discard and restart the sauce base.
Variations and Regional Differences
• Punjabi Style: This version uses more butter and cream, creating a richer, more luxurious sauce.
• Kashmiri Style: Incorporates dried plums and nuts for sweetness and texture.
• British Style: Often sweeter with added sugar and less heat, reflecting Western palates.
• South Indian Style: Features coconut milk instead of cream, adding a tropical flavor profile.
Food Science Behind the Recipe
• Maillard Reaction: The process that gives seared chicken its flavorful crust through browning proteins and sugars.
• Emulsification: The cream in the sauce helps create a stable emulsion, dispersing fat evenly for a creamy texture.
• Acid Tenderization: The lemon juice and yogurt in the marinade break down protein structures, leading to tender chicken.
Frequently Asked Questions
What's the most common mistake people make when preparing Chicken Tikka Masala? Overcooking the chicken, resulting in a dry texture. Ensure to monitor cooking time closely.
Can I use chicken thighs instead of breasts? Yes, chicken thighs are more forgiving and remain juicy, even with longer cooking times.
How can I make it less spicy? Reduce the amount of cayenne pepper and garam masala. You can also add more cream to mellow the heat.
Is it possible to make this dish vegan? Yes, substitute chicken with tofu or chickpeas and use coconut cream instead of heavy cream.
Can I freeze Chicken Tikka Masala? Yes, it freezes well. Store in airtight containers and reheat gently on the stove.
What can I serve with Chicken Tikka Masala? Traditionally served with naan or basmati rice, but can also be paired with a simple salad.
How do I adjust the consistency of the sauce? Simmer longer to thicken or add a splash of water or stock if too thick.
What is the best way to reheat leftovers? Reheat gently in a skillet over low heat, adding a splash of water to loosen the sauce if needed.
Serving and Presentation Guide
• Traditional Presentation: Serve in a shallow bowl with a sprinkle of fresh cilantro and a wedge of lemon on the side.
• Family Style: Present in a large serving dish, allowing guests to help themselves, accompanied by a basket of warm naan.
• Individual Plates: Portion onto individual plates with a side of rice, garnished with a drizzle of cream for visual appeal.
• Modern Twist: Serve in a deep bowl with a swirl of yogurt on top, garnished with microgreens for a contemporary look.
Conclusion
Embark on a culinary journey with this Hearty Chicken Tikka Masala, a dish that promises bold flavors and satisfying richness.
With its rich history and cultural significance, this recipe will bring warmth and joy to your dining table.
Don't hesitate to try it yourself and share the experience with your loved ones.
Enjoy the process of creating and savoring this flavorful explosion from India.