Homemade Pierogi Recipe: Soft, Stuffed and Delicious
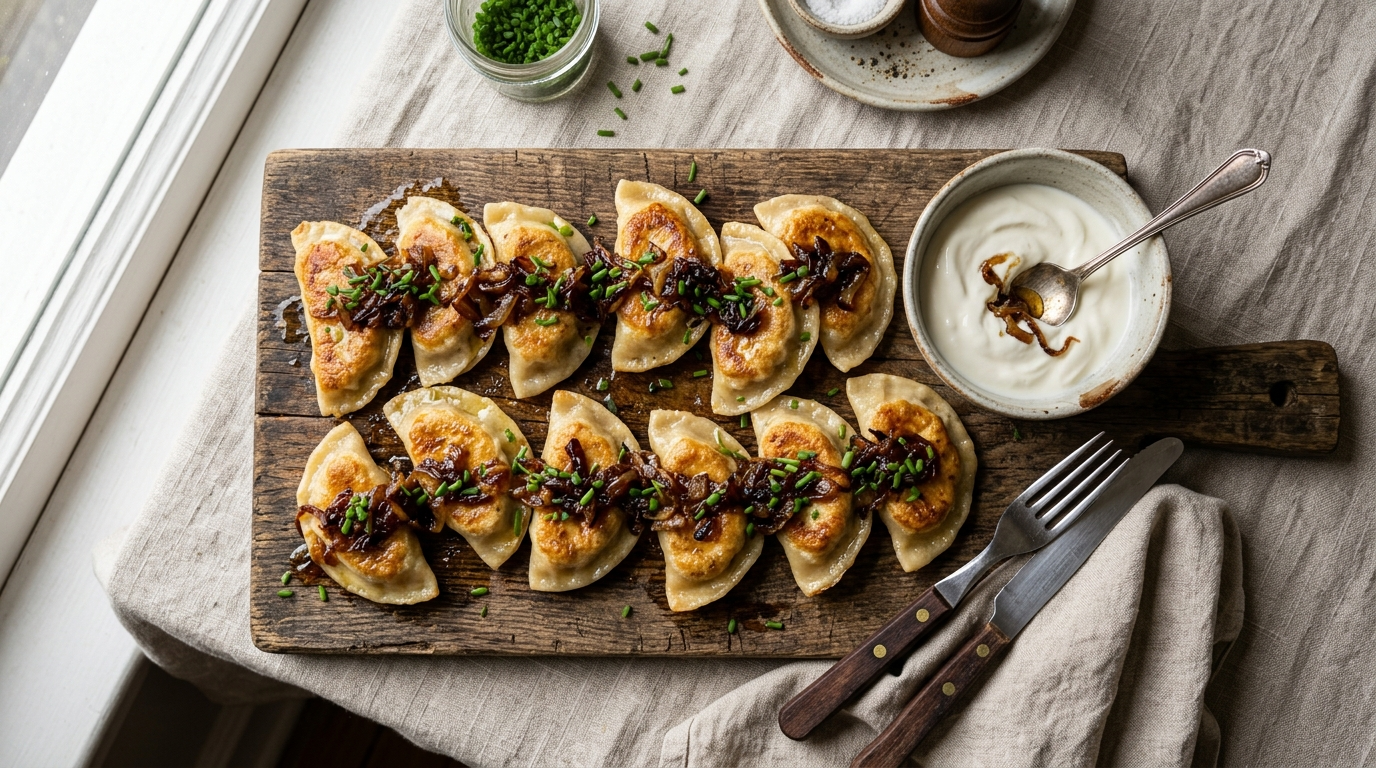
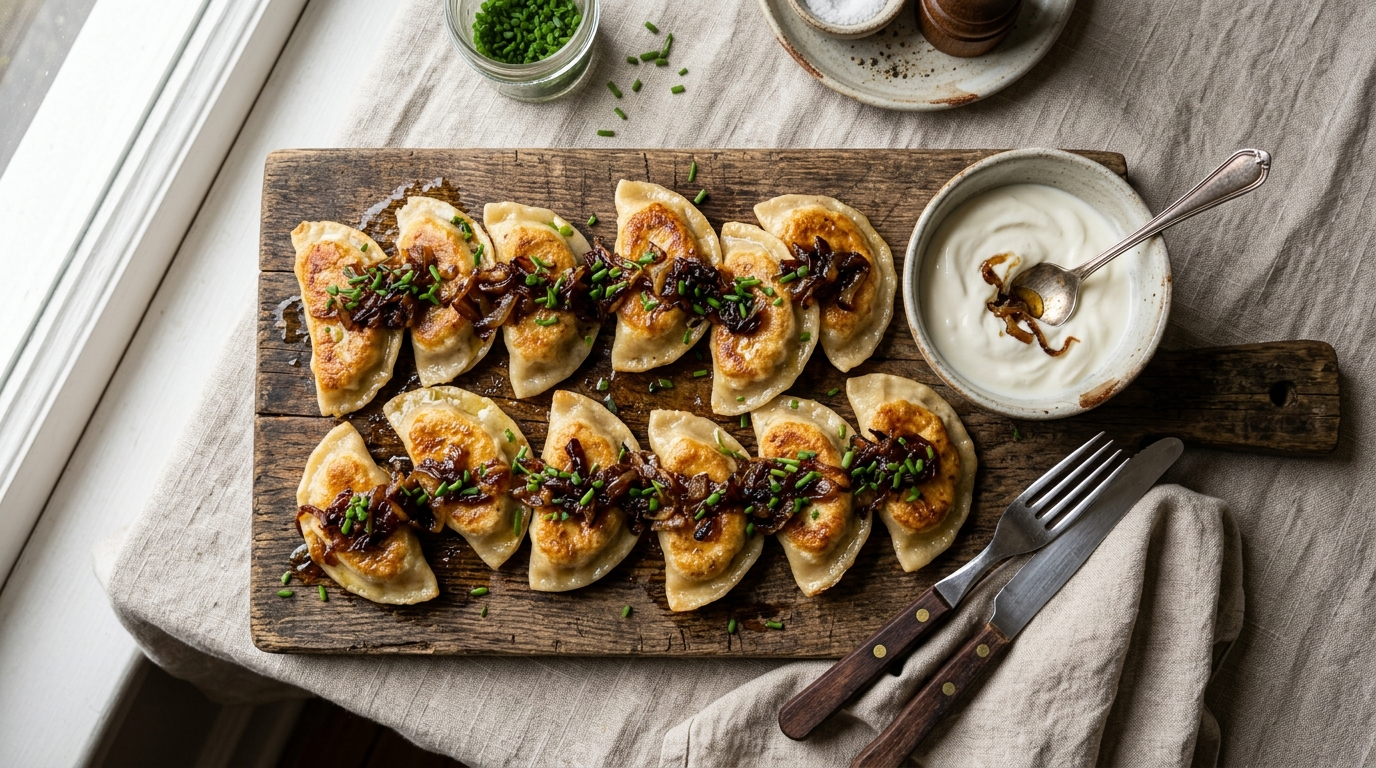
This homemade pierogi recipe is the ultimate comfort food project that rewards you with pillowy, golden-fried dumplings bursting with creamy potato and cheese filling. There is something truly special about making pierogi from scratch at home. The soft, chewy dough wraps around a rich, savory filling in a way that no store-bought version can ever replicate. Once you taste one fresh from the pan, you will understand why families pass this recipe down through generations.
Making pierogi at home is more approachable than most people think. With a handful of pantry staples and a little patience, you can produce dozens of these beautiful dumplings in an afternoon. The process is meditative and fun, especially when you involve family or friends to help with the folding and crimping. The result is a meal that feels festive, generous, and deeply personal.
Whether you are cooking for a weeknight dinner, a holiday gathering, or a cozy Sunday meal, this recipe delivers every single time. The dough is tender and forgiving, the filling is rich without being heavy, and the pan-fried finish adds a satisfying golden crust that elevates every bite. Get your flour and potatoes ready because today is the perfect day to make pierogi from scratch.
This homemade pierogi recipe delivers tender, hand-crafted dumplings filled with creamy potato and cheddar, pan-fried to golden perfection. Simple ingredients, deeply satisfying results. Whether feeding a crowd or treating yourself, this classic comfort dish is exactly what your kitchen needs today.
Ingredients
| AMOUNT | INGREDIENT | NOTES |
|---|---|---|
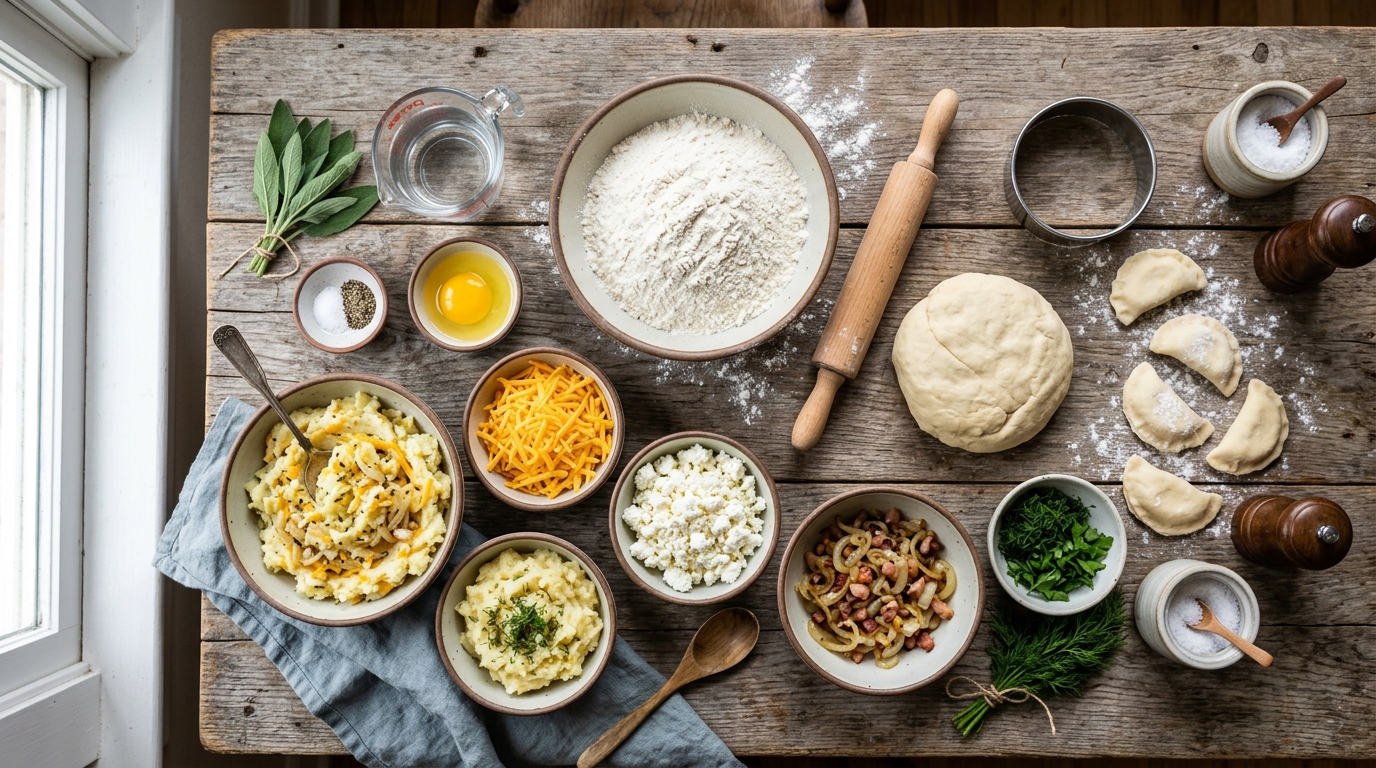
| 3 cups | all-purpose flour | plus extra for dusting the work surface |
| 1 teaspoon | salt | for the dough |
| 1 large | egg | lightly beaten |
| 3/4 cup | sour cream | full-fat, at room temperature |
| 2 tablespoons | unsalted butter | softened, for the dough |
| 2 pounds | russet potatoes | peeled and cut into chunks |
| 1 cup | sharp cheddar cheese | freshly shredded for best melt |
| 1/4 cup | cream cheese | softened, adds richness to filling |
| 1 medium | yellow onion | finely diced, for filling and topping |
| 3 tablespoons | unsalted butter | for caramelizing onions and pan-frying |
| 1 teaspoon | garlic powder | stirred into the potato filling |
| 1/2 teaspoon | white pepper | for the potato filling, adds gentle heat |
| 1 teaspoon | kosher salt | for seasoning the potato filling |
| 1 tablespoon | salt | for the boiling water |
| 1/2 cup | sour cream | for serving alongside the finished pierogi |
| 2 tablespoons | fresh chives | thinly sliced, for garnish |
Instructions
Nutrition (per serving)
About This Recipe
Pierogi are one of the most beloved symbols of Polish culinary heritage, with roots stretching back to the 13th century. The word pierogi is the plural form of the old Polish word pierog, meaning dumpling or pocket, derived from the old Slavic word for feast. While Poland claims pierogi as its national dish, similar stuffed dumplings appear throughout Central and Eastern European cultures, including Ukrainian varenyky and Russian pelmeni. Early versions were filled with buckwheat, sauerkraut, and mushrooms, ingredients that were abundant and affordable for peasant families. Over centuries, the recipes evolved to incorporate potatoes after the crop arrived in Europe from the Americas in the 16th century, and the classic potato-cheese filling we know today became a staple across Poland and its diaspora.
As Polish immigrants traveled to North America in the late 19th and early 20th centuries, they brought their pierogi recipes with them, and the dish took firm root in communities across the United States and Canada. Cities like Pittsburgh, Chicago, and Buffalo developed such strong pierogi cultures that the dumpling became a regional icon far beyond its Polish origins. Church festivals, family reunions, and neighborhood gatherings centered around massive batches of handmade pierogi, cooked in giant pots and served with sour cream and caramelized onions. Today, the homemade pierogi recipe remains a cherished tradition that connects cooks across generations and continents to a shared sense of warmth, abundance, and belonging.
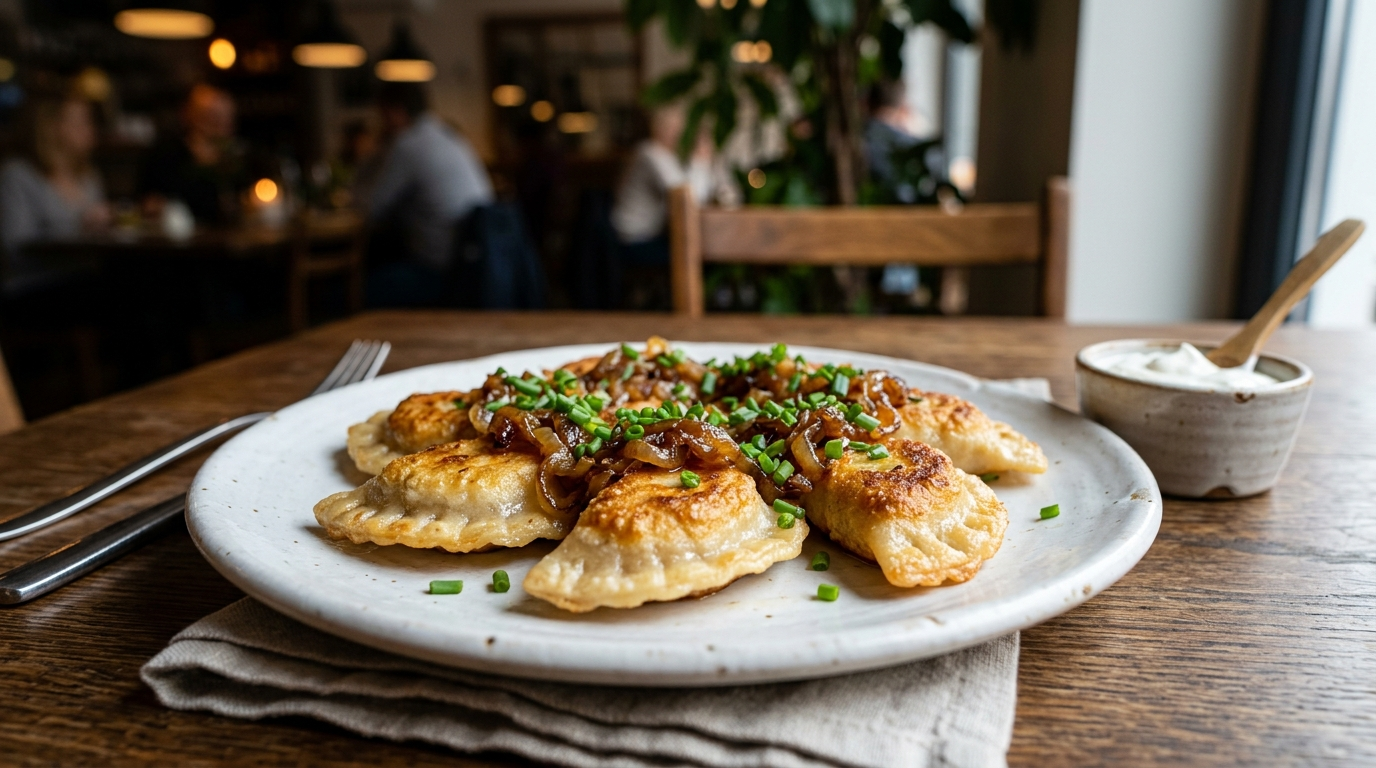
Ready to Serve
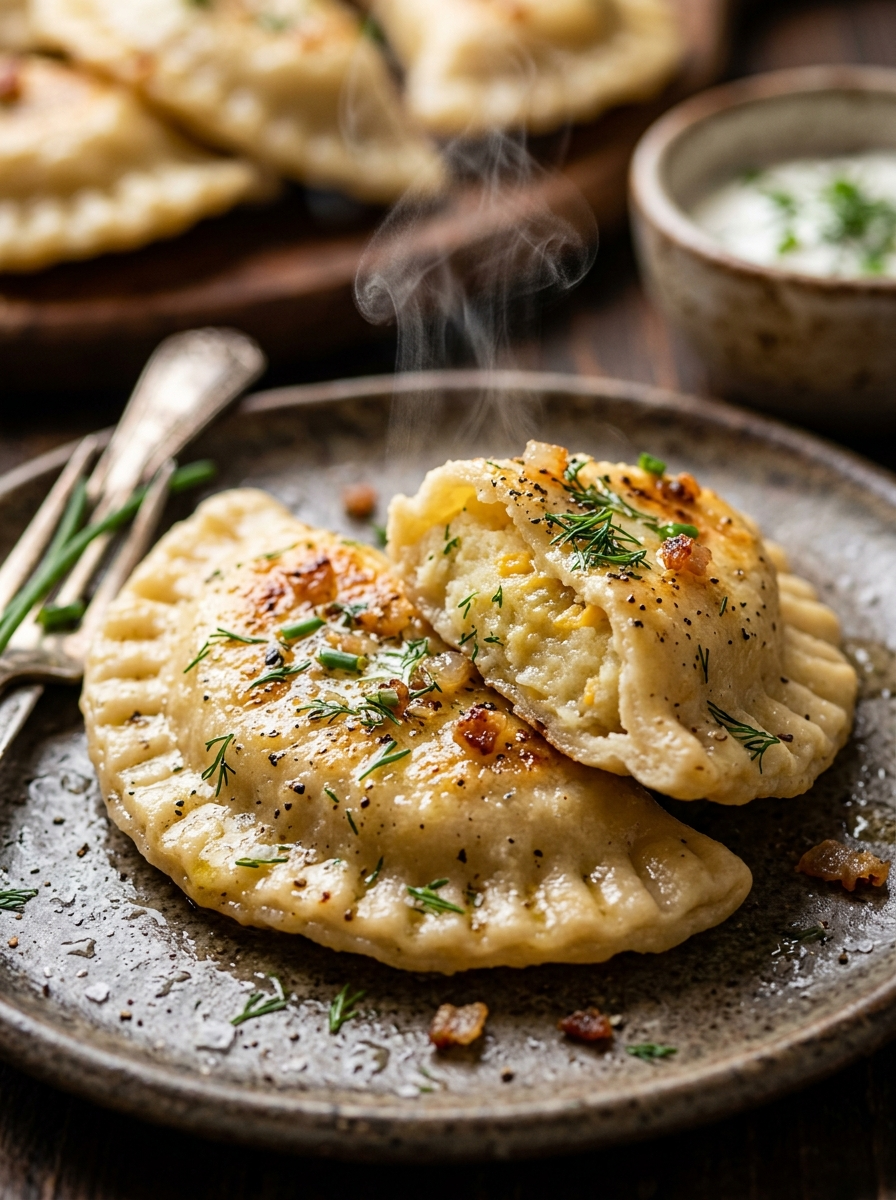
A Closer Look
Pro Tips for Best Results
- Always let your potato filling cool completely before filling the dough. Warm filling makes the dough limp and difficult to seal, and can cause tearing when you try to crimp the edges.
- Use a pasta roller or stand mixer dough attachment if you have one. Rolling by hand works perfectly well, but a machine will give you a more even thickness across the entire sheet of dough, resulting in uniformly cooked pierogi.
- Freeze unbaked pierogi in a single layer on a parchment-lined baking sheet for one to two hours before transferring to zip-top freezer bags. This flash-freezing prevents them from sticking together and means you can pull out exactly as many as you need at any time.
- Do not boil frozen pierogi from frozen without adding extra time. Drop them straight from the freezer into boiling water and cook for five to six minutes instead of the standard three to four. They are done when they float and have puffed up slightly.
- The secret to the crispiest pan-fried pierogi is making sure the boiled dumplings are dry before they hit the butter. Pat them gently with paper towels after boiling and let them sit for a minute before adding them to the hot skillet to avoid steaming instead of searing.
Essential Equipment
Large Pot: Needed to boil the pierogi in salted water without crowding them.
Large Skillet or Cast Iron Pan: Essential for pan-frying the boiled pierogi to a golden, crispy finish.
Potato Masher or Ricer: Creates the smoothest, lump-free potato filling for the best texture.
Rolling Pin: Rolls the dough out to an even thickness so every dumpling cooks uniformly.
3-inch Round Cookie Cutter or Glass: Cuts perfectly sized dough circles for consistent, easy-to-fold pierogi.
Large Mixing Bowls: Needed for mixing both the dough and the filling separately.
Fork or Pierogi Press: Seals and crimps the edges of each dumpling to prevent filling from leaking during boiling.
Slotted Spoon: Removes the boiled pierogi from the water without breaking their delicate skins.
Variations
Sauerkraut and Mushroom Filling: Replace the potato-cheese filling with a mixture of finely chopped sauerkraut and rehydrated dried porcini mushrooms sauteed with onion and garlic. This is the traditional meatless filling served during Polish Christmas Eve, known as Wigilia, and delivers a deeply savory, earthy flavor profile.
Meat-Stuffed Pierogi: Mix one cup of cooked ground pork or beef with sauteed onion, a pinch of marjoram, salt, and pepper for a hearty, protein-rich filling. This style of pierogi is popular in the eastern regions of Poland and is often served as a substantial main course.
Sweet Farmer Cheese Pierogi: Combine farmer cheese or dry-curd cottage cheese with a beaten egg, two tablespoons of sugar, and a pinch of vanilla extract for a lightly sweet filling. Boil and serve topped with melted butter and a sprinkle of powdered sugar and cinnamon for a dessert or brunch version.
Spinach and Feta Filling: Saute fresh spinach until wilted, squeeze out all moisture, and combine with crumbled feta cheese, minced garlic, and a squeeze of lemon. This Mediterranean-inspired variation brings a bright, salty contrast to the buttery dough and works beautifully with a yogurt dipping sauce.
Vegan Potato Filling: Replace the cheddar and cream cheese with vegan cream cheese and nutritional yeast for a cheesy flavor without dairy. Use plant-based butter throughout the recipe for a fully vegan version that still delivers rich, creamy results that satisfy everyone at the table.
Frequently Asked Questions
Can I make the dough and filling ahead of time?
Yes, you can prepare both components up to two days in advance. Store the dough tightly wrapped in plastic wrap in the refrigerator and keep the filling in an airtight container. Let the dough sit at room temperature for 20 minutes before rolling so it is pliable and easy to work with.
Can I freeze homemade pierogi?
Yes, pierogi freeze beautifully and are one of the best freezer meals you can make. Arrange unboiled pierogi in a single layer on a floured baking sheet and freeze until solid, about two hours, then transfer to freezer bags. They keep for up to three months and can go straight from the freezer into boiling water.
Why do my pierogi keep opening up during boiling?
This almost always comes down to the seal not being tight enough before boiling. Make sure the edges are completely pressed together with no air pockets inside, then reinforce the seal by pressing with a fork all the way along the edge. Also ensure your filling is cool and that you are not overfilling each dumpling.
How many pierogi does this recipe make?
This recipe makes approximately 30 to 36 pierogi depending on how thick you roll your dough and the exact size of your cutter. This is enough to serve four to six people as a main course, or eight as a generous side dish alongside soup or salad.
Do I have to pan-fry them after boiling?
No, pan-frying is optional but highly recommended for the best texture and flavor. Boiled pierogi are tender and delicious on their own, especially when tossed in melted butter right out of the water. However, the pan-fried version with its golden crust is considered the classic restaurant and home-cook favorite for a reason.
What is the best way to reheat leftover pierogi?
The best method is to reheat leftover pierogi in a buttered skillet over medium heat for two to three minutes per side until warmed through and re-crisped. Avoid microwaving if possible as it makes the dough rubbery. If you are short on time, a quick microwave on medium power with a damp paper towel over them for 90 seconds works reasonably well.